The Time Machine
Building a time machine
ANIMATION AND VFX CINEMATOGRAPHY
Drew Campbell
3/22/20263 min read
Building a Rough-and-Ready Time Machine Prop
For my Time Machine scene in AVFX5103 – Animation and VFX Cinematography, I needed a physical prop that felt believable in the world, yet achievable within a tight timeframe. The brief encourages practical asset creation and documentation to support later digital work, so building something tangible became an important part of grounding the project.
Starting with What I Had
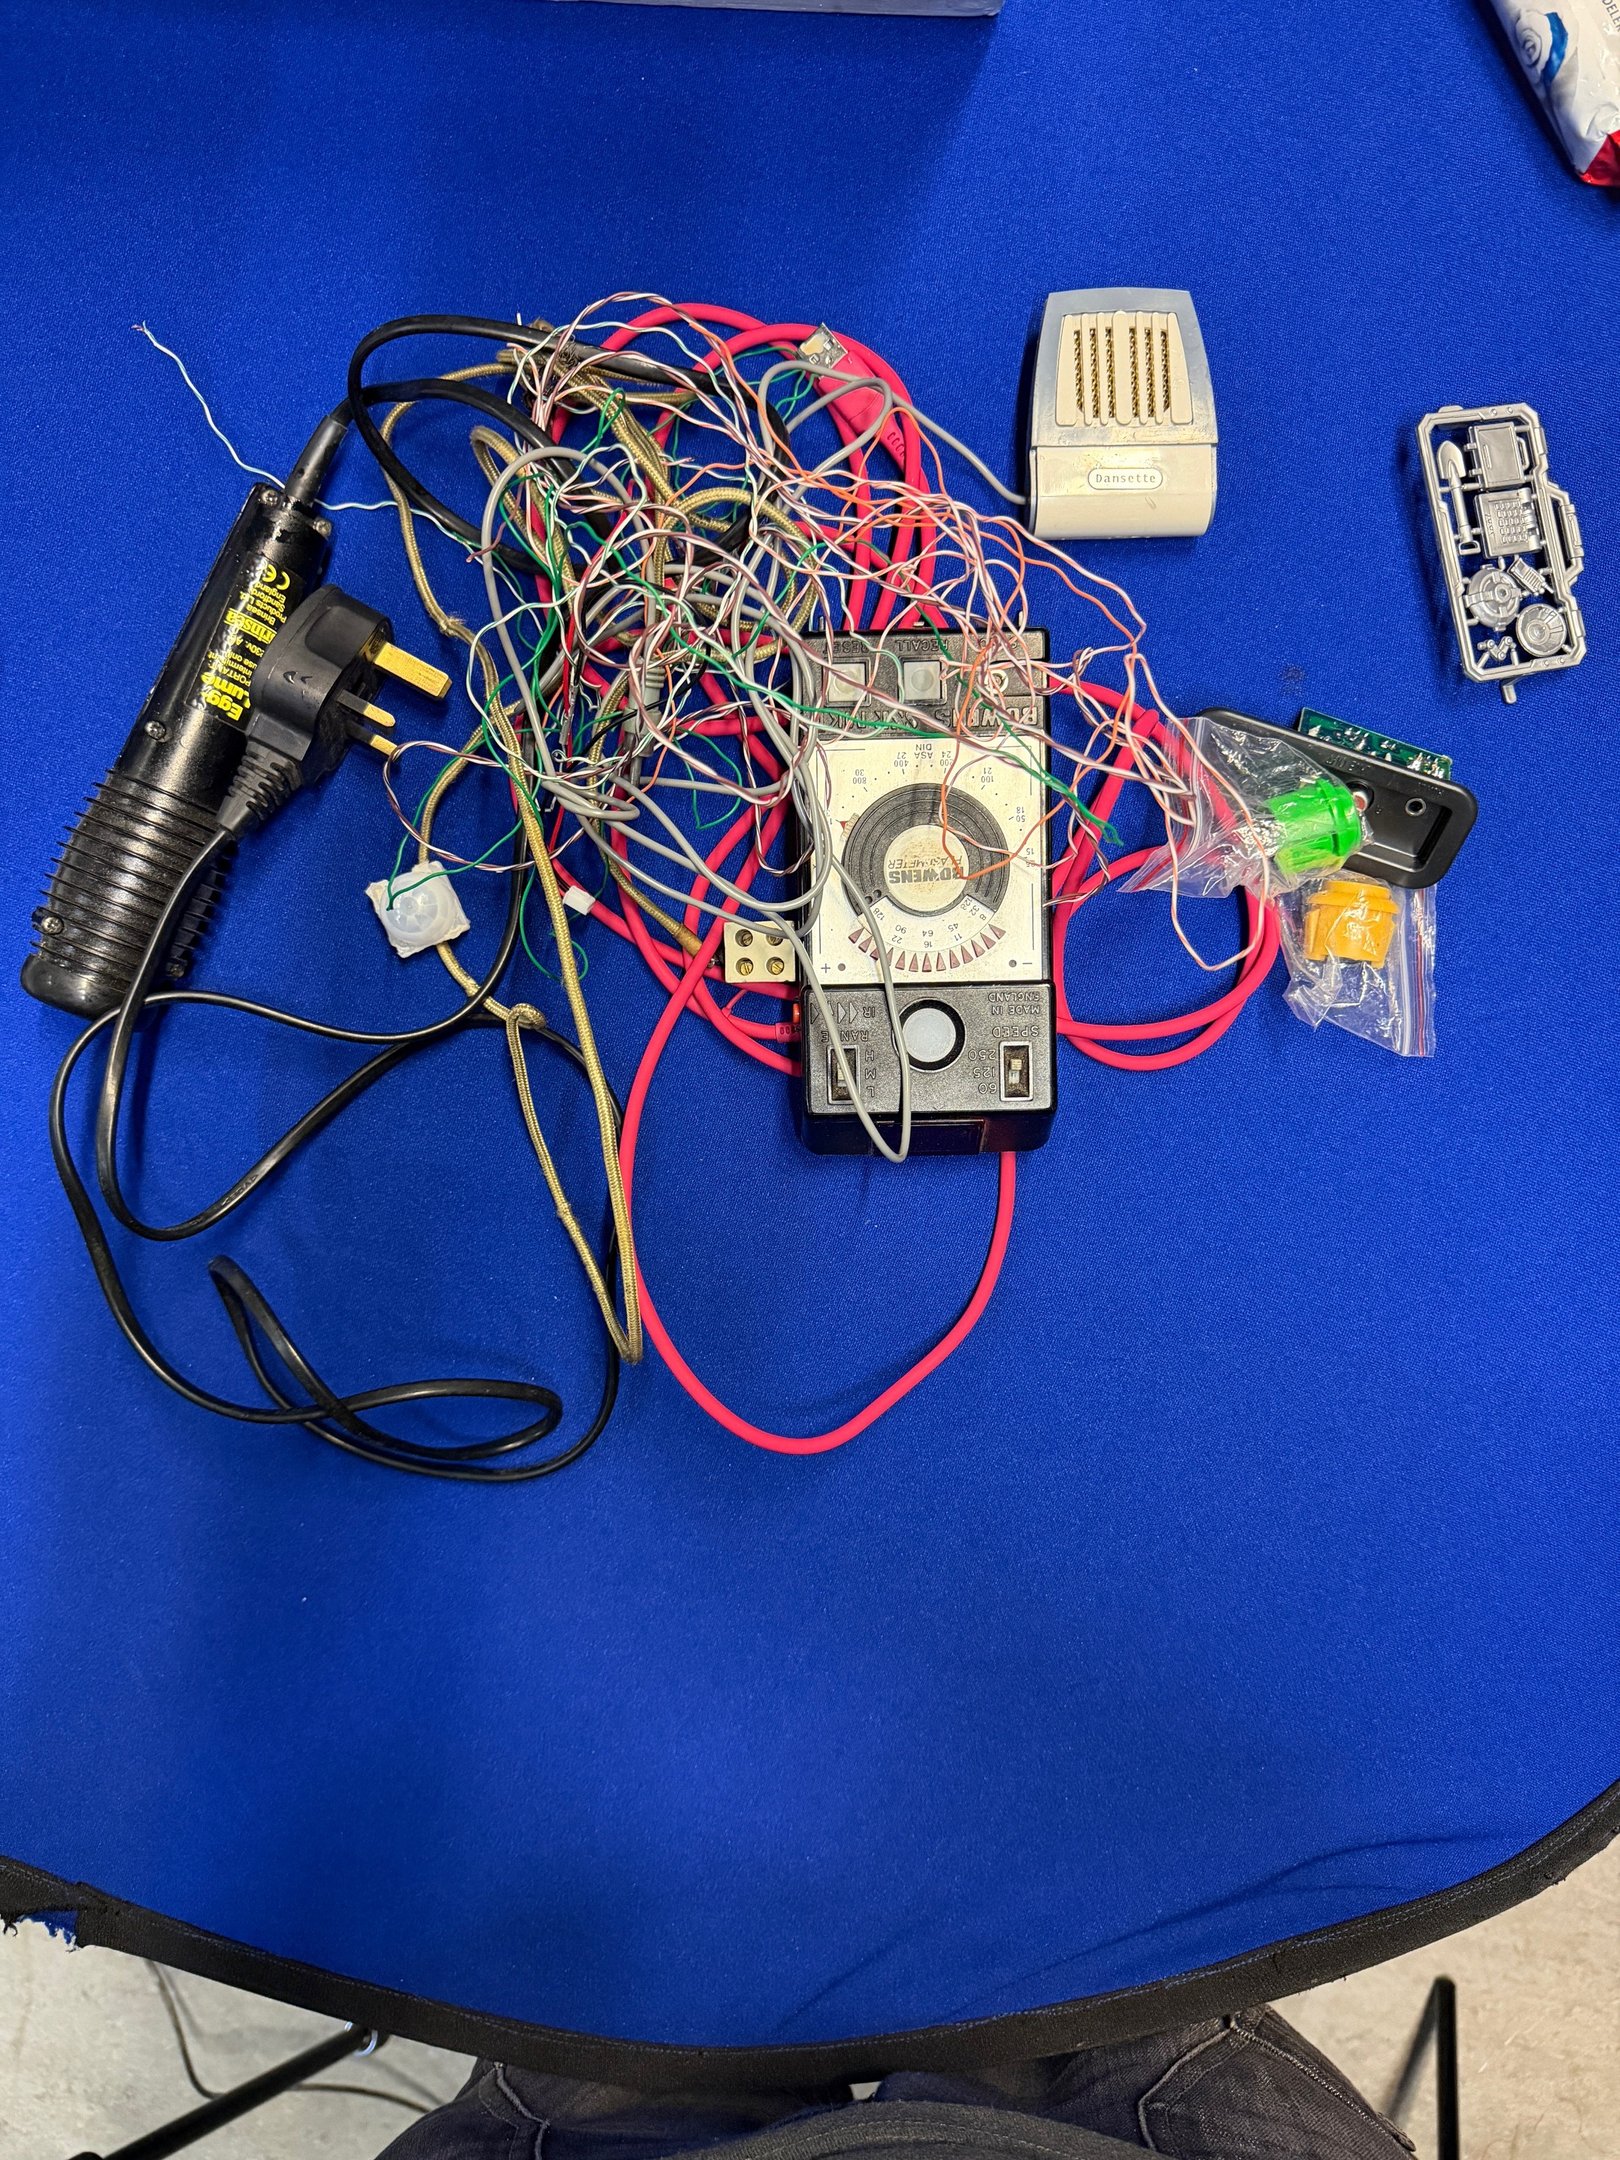
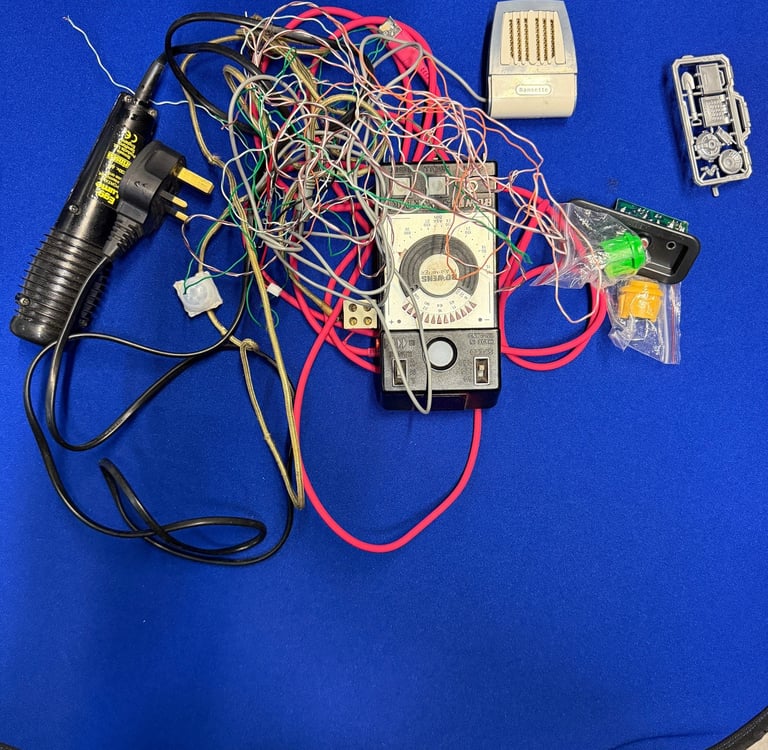
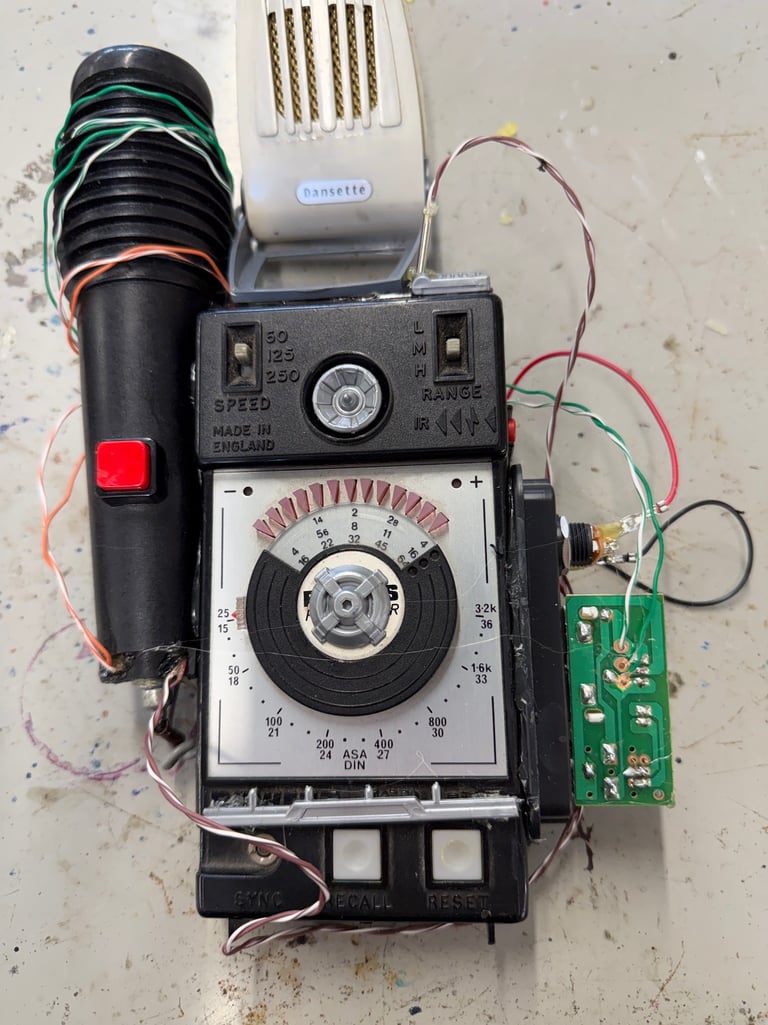
Rather than designing something from scratch in a polished way, I leaned into a more instinctive approach. I gathered whatever I could find — old electronics, wires, switches, and spare components — and treated it as almost a form of kitbashing.
The initial “before” stage was essentially a pile of disconnected parts. There wasn’t much visual logic to it, but that actually helped me identify what felt like it could become a device. I was less concerned with realism in a technical sense and more focused on visual language — what audiences recognise as “complex” or “scientific”.
Designing Through Assembly
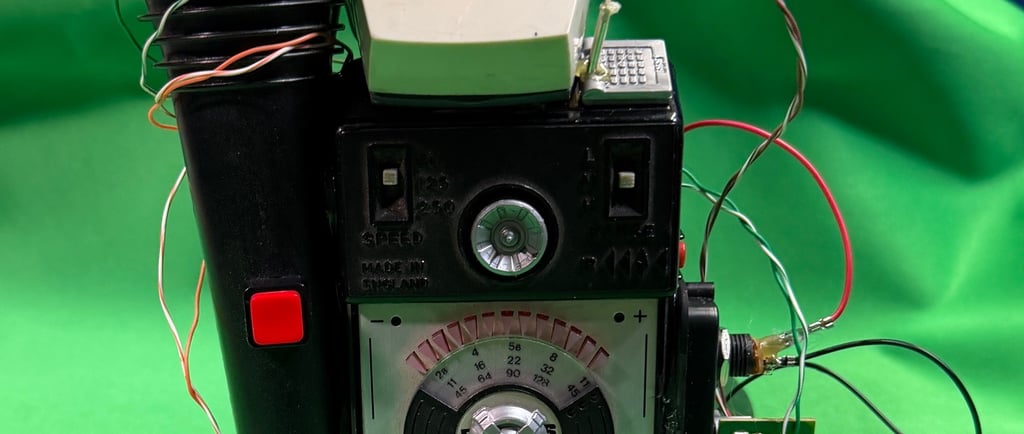
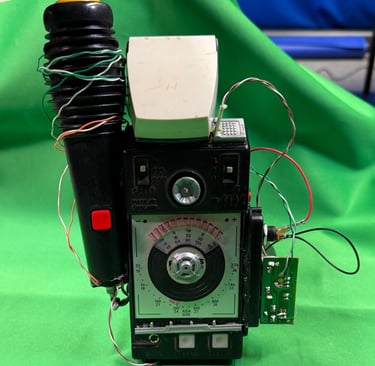
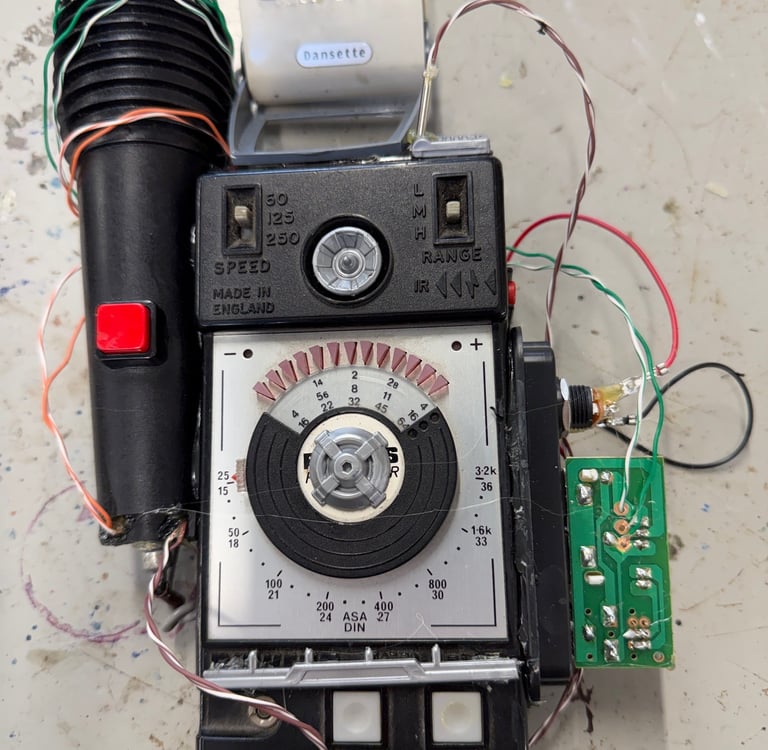
The build itself came together quite quickly. I didn’t over-plan it, which I think worked in its favour. Instead of aiming for clean design, I intentionally left elements exposed — wiring, circuit boards, uneven components — to suggest experimentation and instability.
This ties directly into the character context I’m aiming for: a rough-and-ready scientist, someone testing something not fully refined. If the prop looked too polished, it would contradict that idea. The messiness became part of the storytelling.
I also paid attention to layering:
• A central “control” section (the dial and interface)
• A handheld grip area
• External wiring to imply energy transfer or modification
Even though the parts themselves are random, the structure helps sell the idea that it has a purpose.
From Physical to Digital
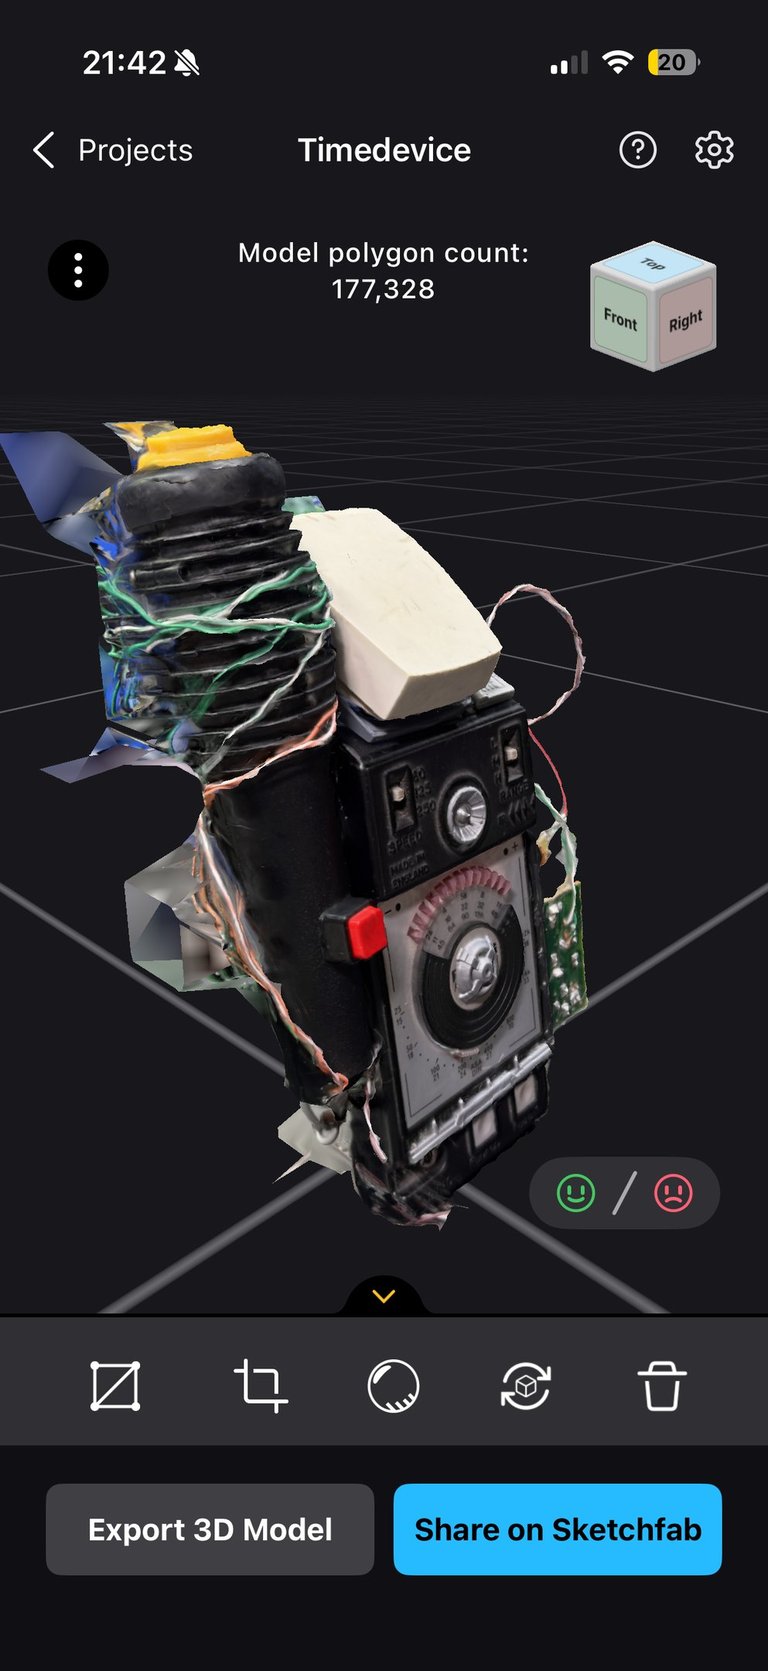
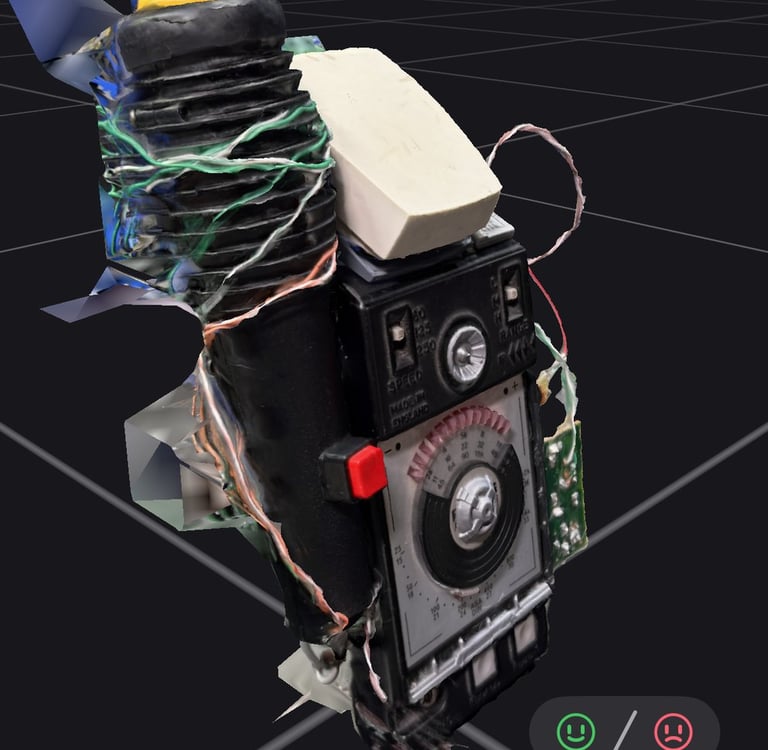
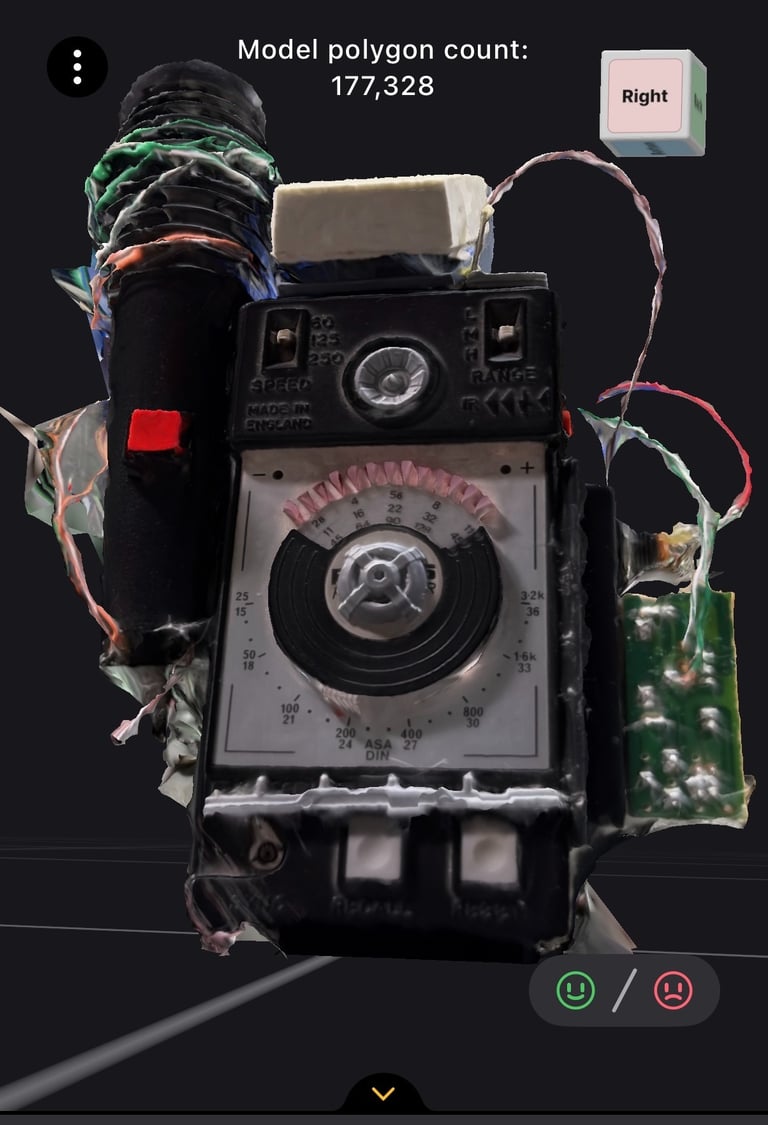
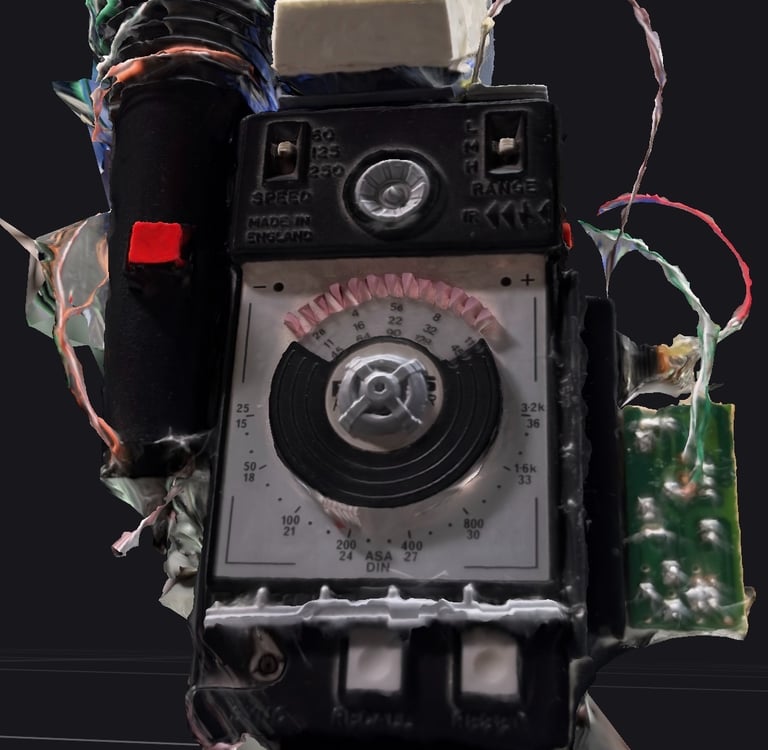
Once the prop was built, I used RealityScan on my iPhone 17 Pro to create a 3D scan of the device. This step was important for two reasons.
Firstly, it allows me to bring the prop into a digital pipeline if needed — whether that’s for compositing, tracking, or extending the design in 3D. Secondly, it reinforces the idea of asset acquisition feeding into production, which is a core part of the module’s workflow approach.
The scan isn’t perfect, but for this kind of project, it doesn’t need to be. It’s more about having a usable digital reference that matches the real-world object.
What I Learned
This process reminded me how effective, quick, and practical building can be. I didn’t need expensive materials or a long design phase to create something visually convincing. In fact, working fast and intuitively helped avoid overthinking.
It also reinforced how important props are in selling an idea. Even though a lot of the final piece will rely on VFX, having something physical to interact with adds weight and believability to the performance.
Next Steps
The next stage is to integrate the prop into my filmed shots and test how it holds up under lighting and compositing. I also want to explore whether the 3D scan can be enhanced or used for subtle digital augmentation.
If anything, this build has set the tone for the project: practical, slightly chaotic, but grounded in something real.
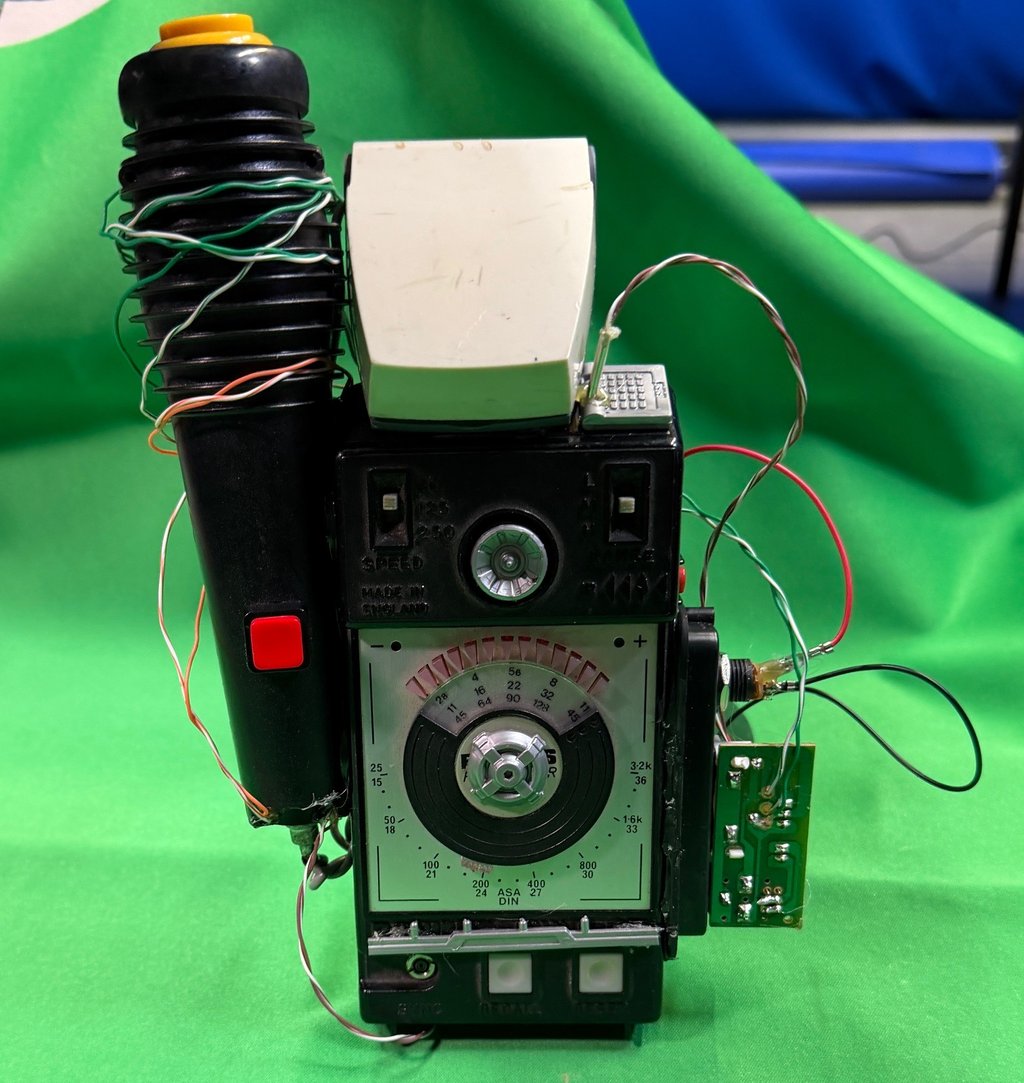

Fig. 1. Time Machine
Fig. 3. Time Machine assembly
Fig. 2. Time Machine parts before the build
Fig. 4. Time Machine assembly finished
Fig. 5. Time Machine Reality Scan
Business address: Voice of Drew, Carlisle, CA2 6ER | UTR: 7259771174 Copyright Drew Campbell 2024