
Task#6: Asset Library
Developing a High-Quality Digital Asset Library
ANIMATION AND VFX PIPELINES
Drew Campbell
4/29/20256 min read
My post content
Objective
Developing a High-Quality Digital Asset Library
For this task, we were required to design and begin constructing a high-quality digital asset library tailored for use in Unreal Engine and 3D scene creation. The primary objective was to develop essential skills in 3D modelling, texturing, asset optimisation, and efficient organisation, ensuring the creation of reusable digital content suitable for a wide range of applications.
These assets are intended to support projects across Animation, Visual Effects (VFX), virtual production, and interactive media, providing a structured and well-curated collection that enhances both creative flexibility and technical efficiency
Research and Planning
Workflow
Industry-standard asset creation practices for Unreal Engine
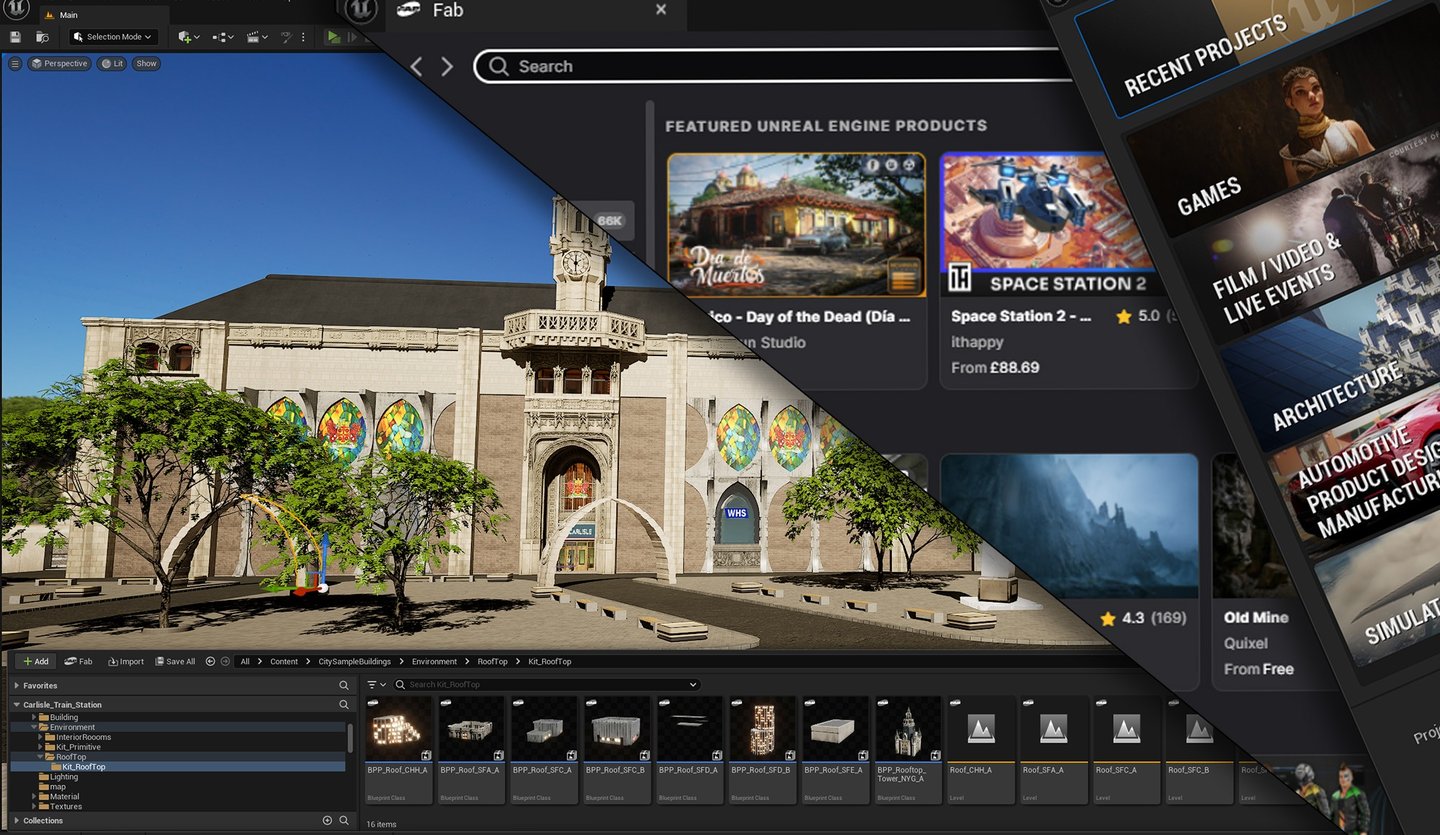
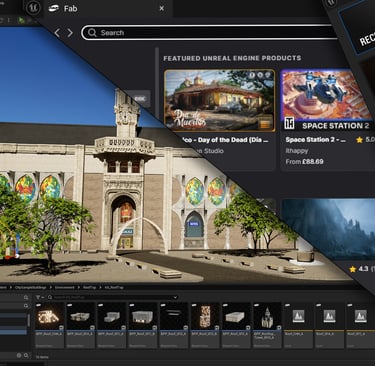
As part of my university project to develop a digital asset library for use in Unreal Engine, I conducted comprehensive research into industry-standard asset creation workflows. These practices ensure compatibility, performance optimisation, and scalability within real-time environments, key considerations for any professional asset pipeline.
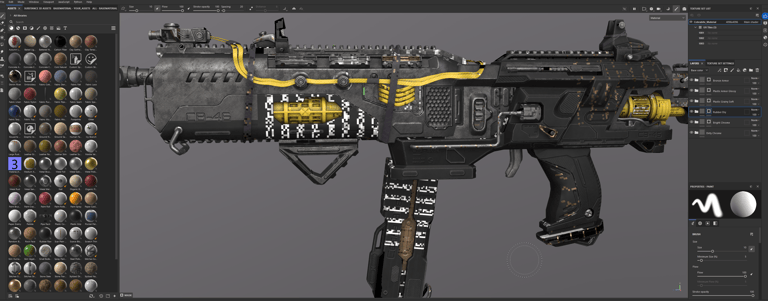
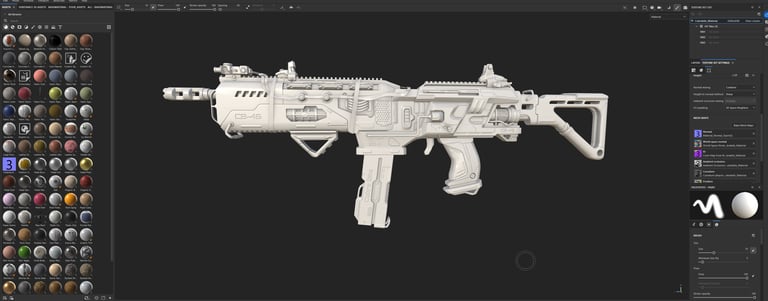
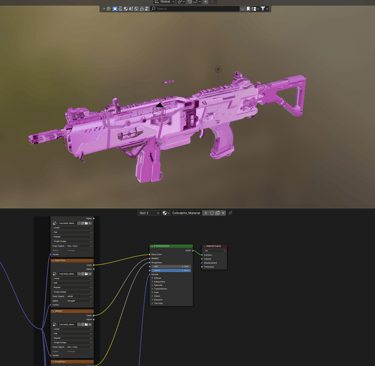
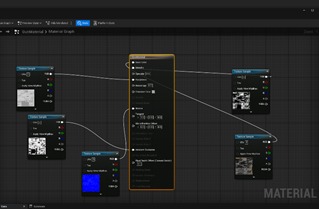
I also downloaded assets that came with normal maps via Production Crate. I imported these into Adobe Substance Painter. The following images will show the challenges I faced during the painting process.

Pixelating while painting
Baked just fine
As part of my university project to develop a digital asset library for use in Unreal Engine, I conducted comprehensive research into industry-standard asset creation workflows. These practices ensure compatibility, performance optimisation, and scalability within real-time environments, key considerations for any professional asset pipeline.
Structured Workflow Pipeline:
Concept → Blockout → High-Poly → Low-Poly → UVs → Baking → Texturing → Unreal Import
PBR Texturing Workflow:
Uses Base Colour, Roughness, Metallic, Normal, AO (optional)
Optimised Assets:
Efficient topology, clean UVs, proper LODs, mipmaps, and collision setup
Industry-standard asset creation practices for Unreal Engine
Consistent Naming & Folder Structure:
SM_, M_, T_ prefixes; organized Unreal Content Browser
Material Setup:
Master Materials + Material Instances for performance and flexibility
Modular Design:
Reusable components for environments (e.g., walls, floors, props)
Skeletal Mesh Best Practices:
Rigged to Epic Skeleton, root motion support, physics assets
Version Control:
Perforce or Git is used to manage asset revisions and collaboration
Industry Tools Used:
Blender, Maya, ZBrush, Substance Painter, Marmoset, Quixel, Unreal Engine
Some mood boards, to give me some inspiration

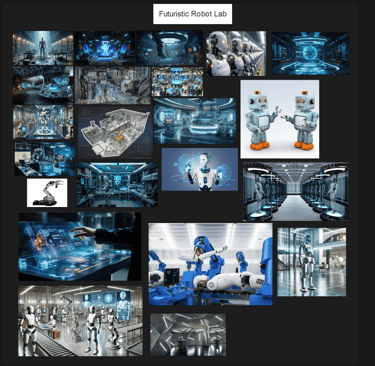
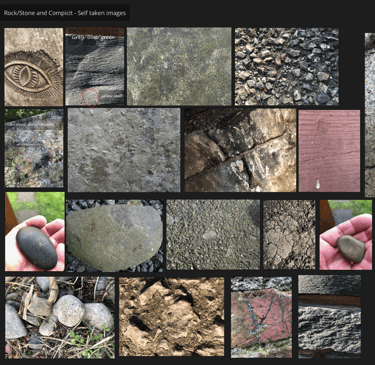
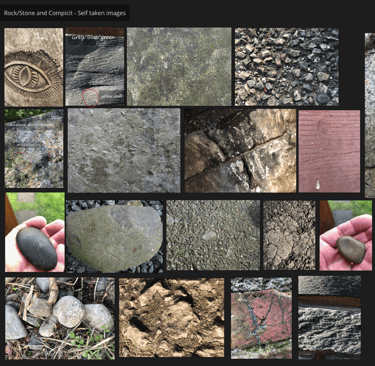
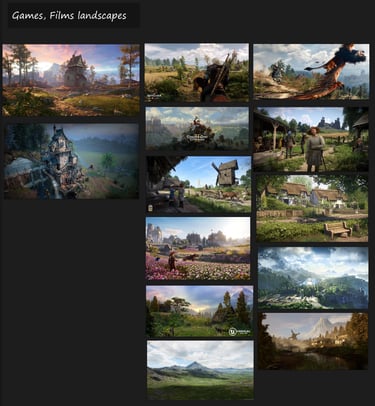
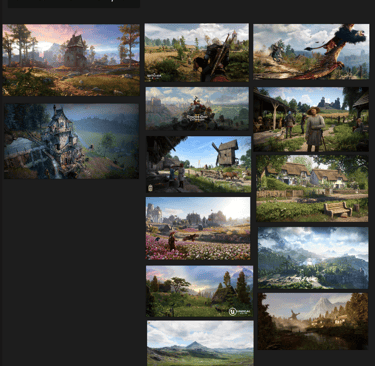
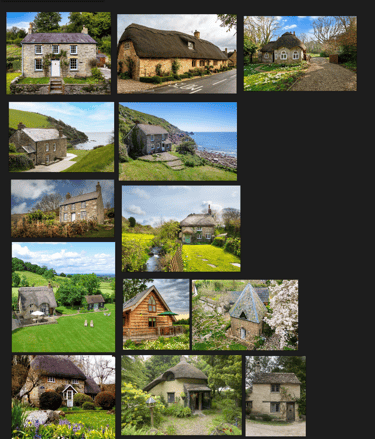
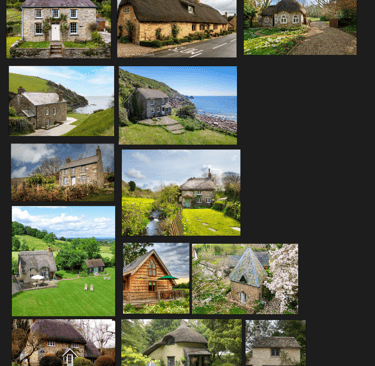
These are screenshots for PureRef
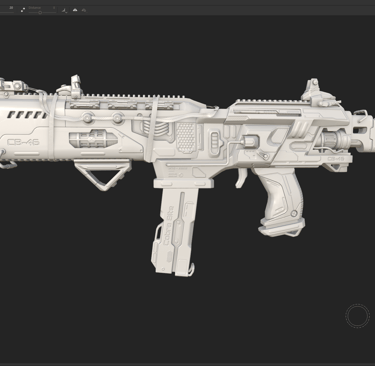
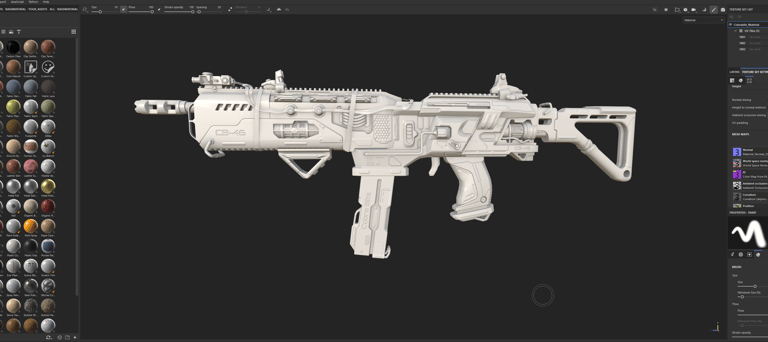
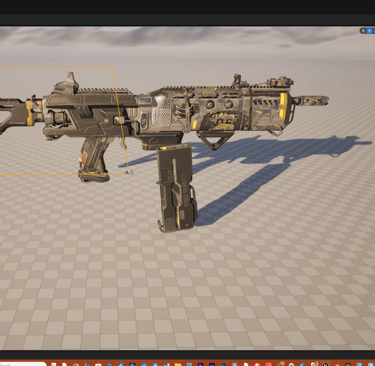
Asset creation
Learning challenges
I came across a few technical issues
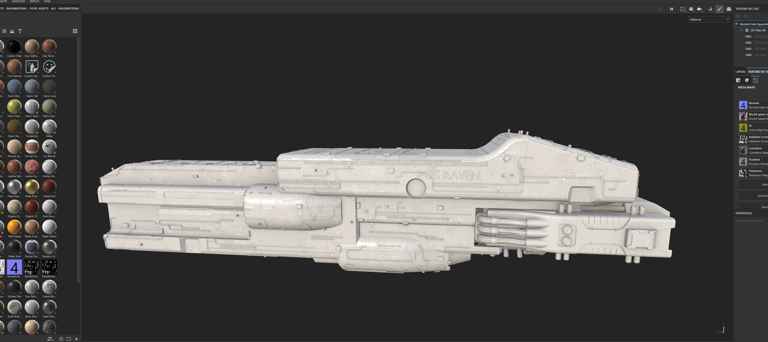
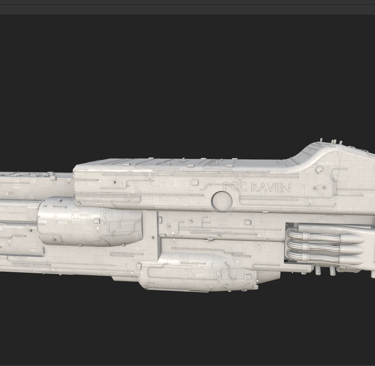
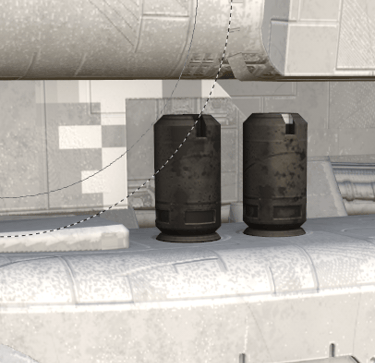
I downloaded assets that came with normal maps via Production Crate. I imported these into Adobe Substance Painter. The following images will show the challenges I faced during the painting process and importing into Blender.


Pixelating while painting
Baked with no issues
Missing material in Blender
Pixelating while painting
Pixelating issues again
Baked with no issues
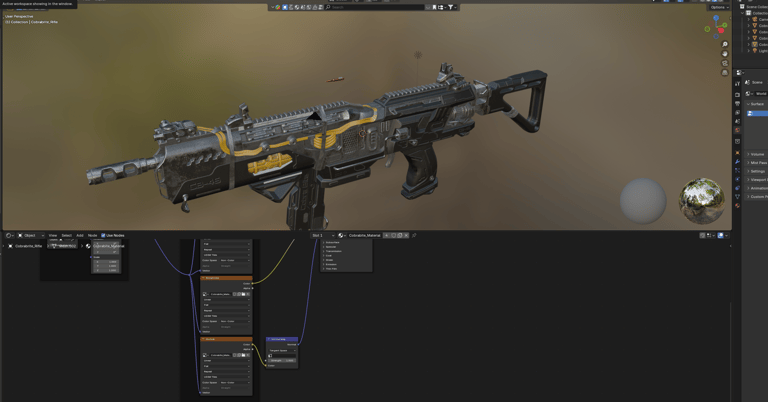
Importing into Unreal
I was able to resolve the issues I was experiencing with Substance Painter to some extent. The white artefacts and pixelation were caused by the sharpening generator in one of the layers, while the purple tint in the Chrome layer was another unexpected problem. I'm not entirely sure what’s causing this issue, though it could be related to my GPU, despite it being powerful enough to handle high-detail graphics under normal conditions.
I will continue to follow this learning path, building on the skills and problem-solving strategies I’ve developed so far. I know these won’t be the last challenges I encounter, but each obstacle presents an opportunity to refine my techniques and deepen my understanding. Embracing these hurdles as part of the journey will ultimately strengthen my ability to navigate complex creative and technical workflows with greater confidence and efficiency.


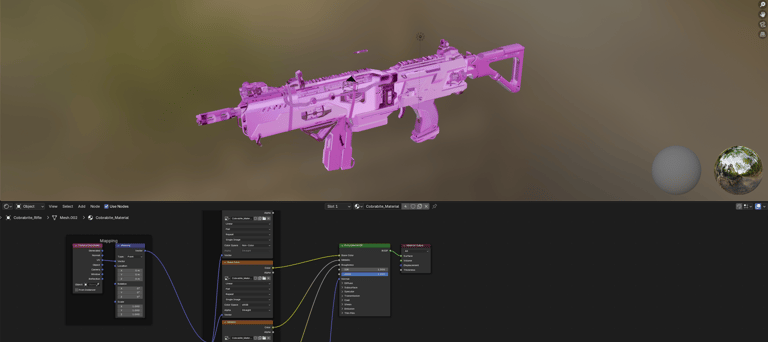
Imported into blender and imported the material and made adjustments.
Imported into unreal. This is the result after importing the materials.
Imported the material
HDR Images
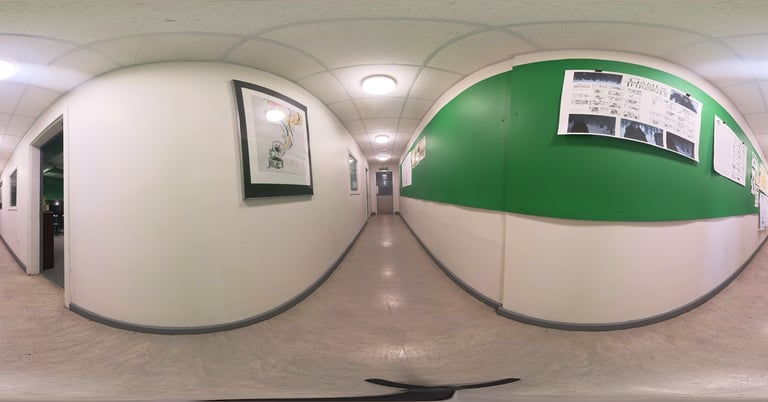
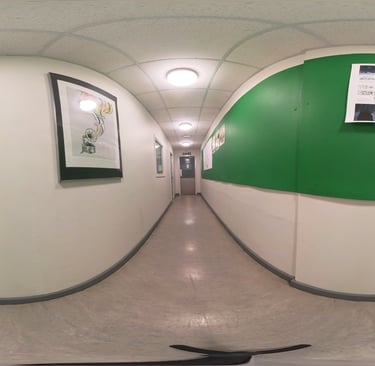
I used an Insta360 camera from AV to capture high dynamic range (HDR) images. The photos were taken in two car parks at the University of Cumbria, Brampton Road, as well as a 360-degree image in the corridor outside the animation room. To achieve a full dynamic range, I employed a bracketing technique, capturing images at varying exposures from low to high.
Afterwards, I exported the images from the Insta360 app as JPG files and imported them into Photoshop using Automate > Merge to HDR Pro, where I processed and combined them to generate the final HDR images.

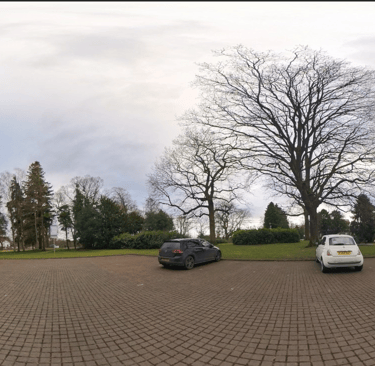


University of Cumbria main car park
University of Cumbria Homacres car park
University of Cumbria Animation Corridor
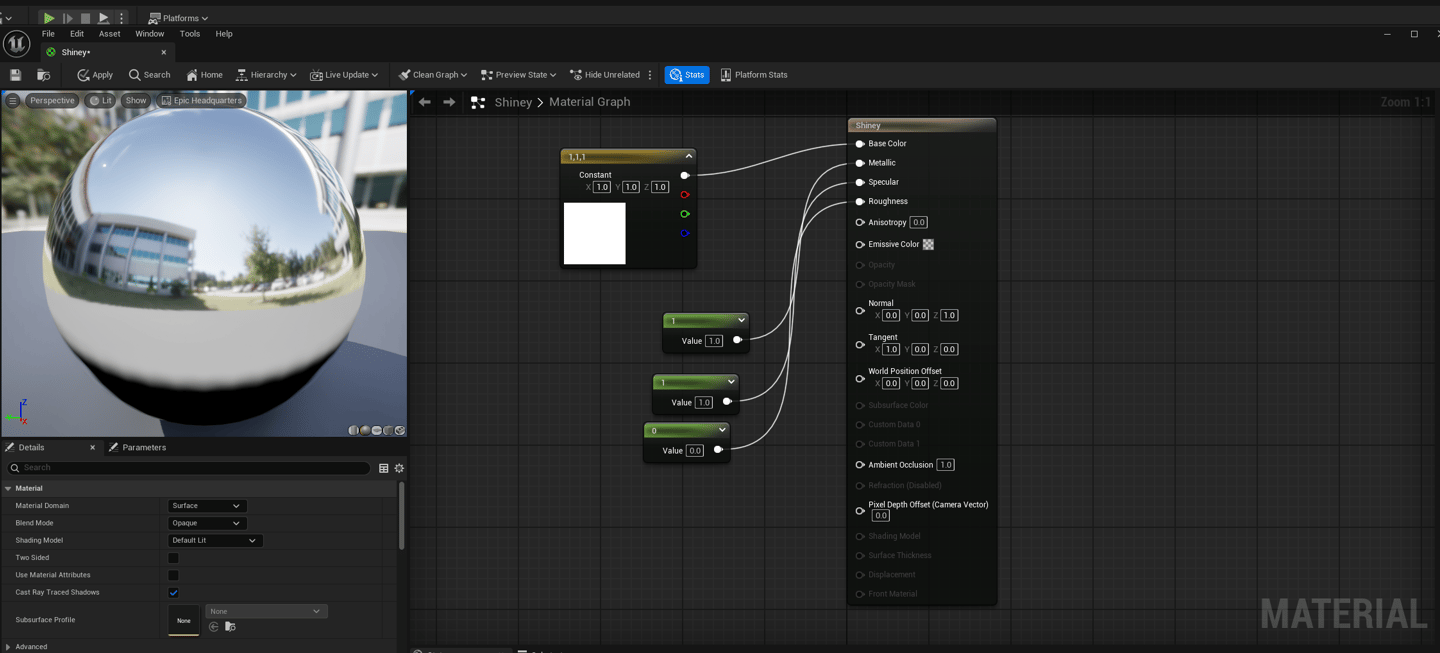
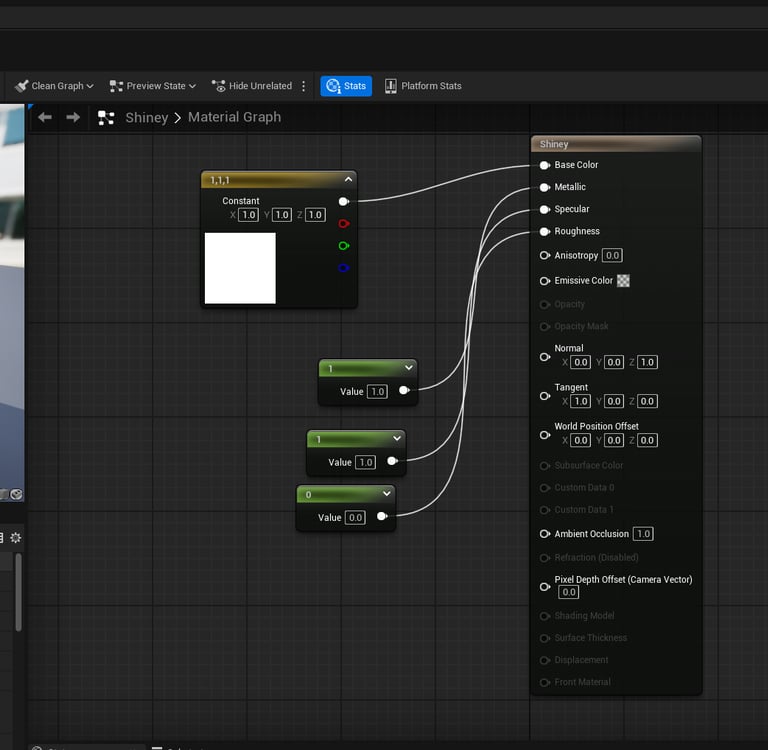
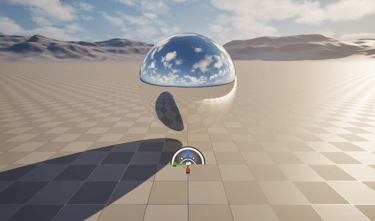
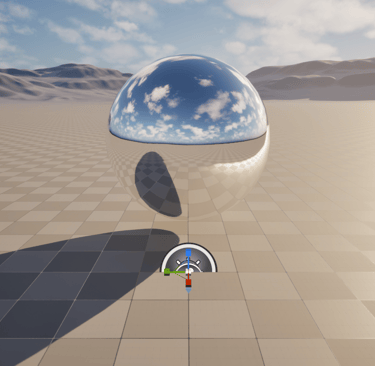
While working on the asset library, I also took the opportunity to learn how to create a mirrored material from scratch in Unreal Engine. This process involved understanding reflection parameters, adjusting material properties, and fine-tuning shader settings to achieve a realistic mirror effect. It was a valuable skill to develop, as reflective surfaces play a crucial role in enhancing visual fidelity within 3D environments.
Final Thoughts
Reflection
Creating an asset library for this project was an unexpectedly challenging process—not necessarily because of the technical aspects, but because I initially overcomplicated it in my mind. I found myself overthinking certain steps, turning what was fundamentally a structured workflow into something more overwhelming than it needed to be. However, as I progressed, I gained a clearer understanding of how to approach the task efficiently.
That said, some aspects of asset creation did prove difficult, requiring me to refine my techniques and problem-solving skills. Whether it was optimising textures, ensuring models were well-structured for reuse, or organising assets in a way that made them truly functional across different scenes, each step presented unique obstacles. Yet, rather than seeing these challenges as setbacks, I view them as essential parts of the learning process.
I’ve always believed that persistence is key—I’m not someone who backs down from difficulties easily. Every hurdle I encounter is an opportunity to sharpen my abilities and gain deeper insight into the intricacies of digital asset creation. With each challenge, I become more adept at navigating the complexities of 3D workflows, and I’m confident that my skills will continue to improve as I push myself further.
This version expands on your thought process and emphasises your resilience, learning mindset, and growing expertise. Does this feel aligned with what you were aiming for? Let me know if you'd like any further refinements
Business address: Voice of Drew, Carlisle, CA2 6ER | UTR: 7259771174 Copyright Drew Campbell 2024