
Task #7: Greebling…
…3D Printing, and Cinematic Flyby
ANIMATION AND VFX PIPELINES
Drew Campbell
5/23/20256 min read
The Process
...3D Printing, and Cinematic Flyby
Objective
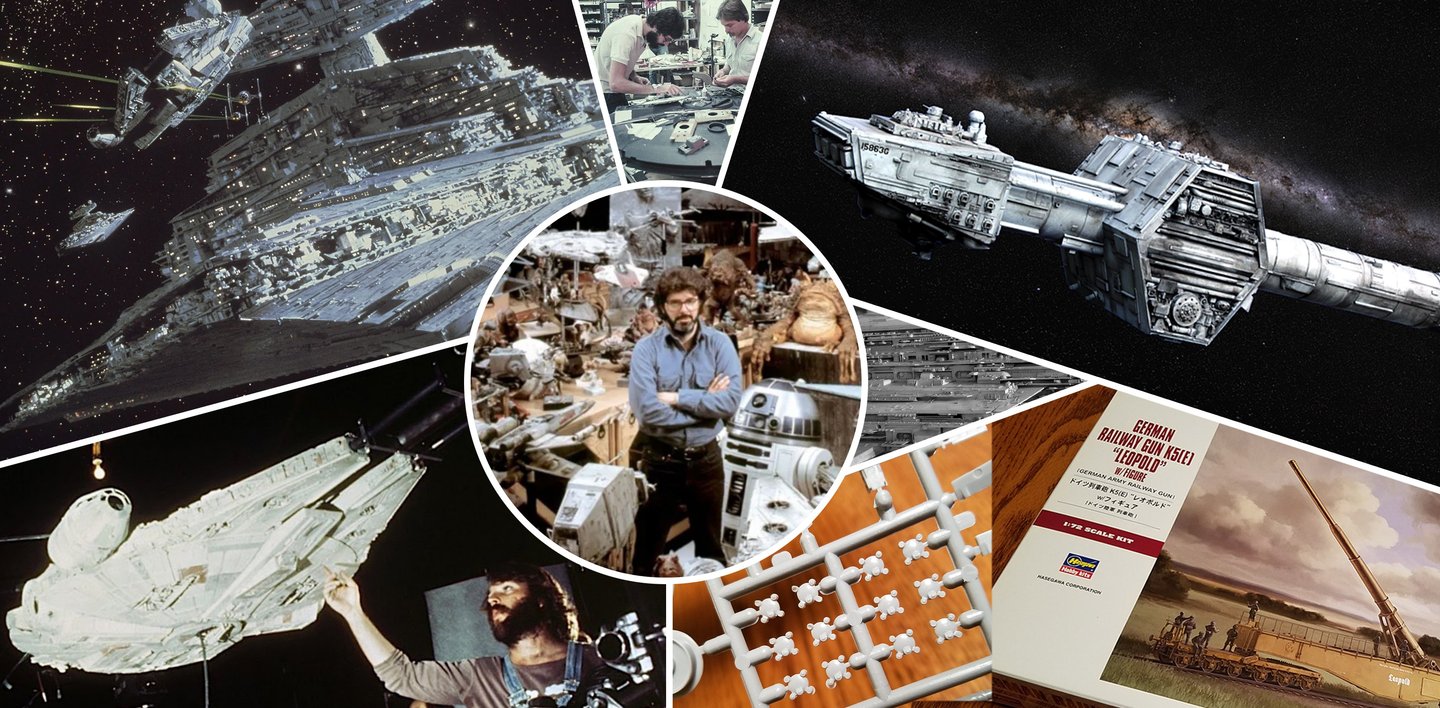
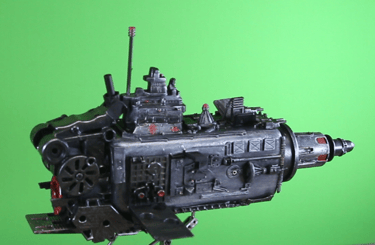
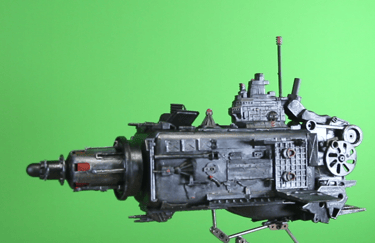
This task was designed to develop our competencies in practical model making, digital fabrication, and cinematic visual effects integration. We were tasked with designing and constructing a model flying vehicle, incorporating custom-designed components created in Blender and produced via 3D printing. Once assembled, the model was meticulously detailed using greebling techniques and filmed against a greenscreen for seamless compositing into a digital VFX environment.
Through this process, we gained hands-on experience in Blender modeling, 3D printing, physical detailing, greenscreen cinematography, and post-production compositing. By merging digital and analogue techniques, we successfully created a cinematic miniature VFX shot that demonstrated both technical precision and creative artistry.
GREEBLING…
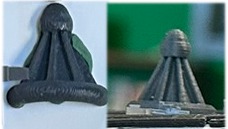
Printing greebles
Blender and 3D printing
Before starting this module, I already had considerable experience with Blender. My first project in the software was building a robot, and later, I undertook the ambitious task of modelling Carlisle Castle and having it 3D printed. That project was a challenge, but I thoroughly enjoyed the process.
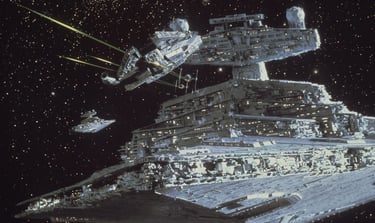
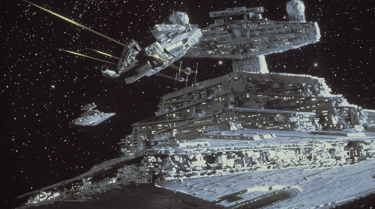
When it came time to design and 3D print a greebly, I initially envisioned a beacon or antenna that could sit atop a spaceship. At that stage, I hadn't fully conceptualised the spaceship's form. Still, I immersed myself in research, watching numerous videos on greebling, including behind-the-scenes footage of Star Wars model-making, particularly the wedge-shaped Imperial Star Destroyer.
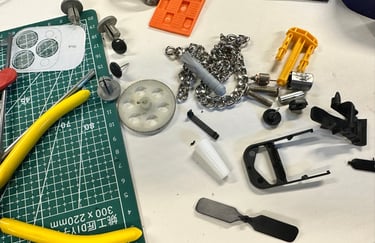
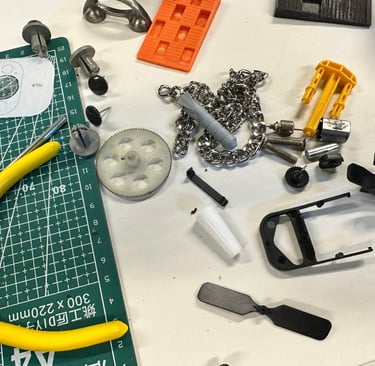
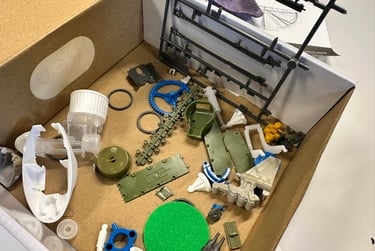
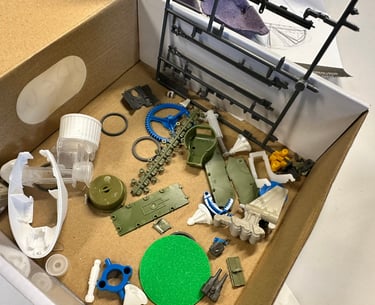
I'm captivated by the intricately crafted models seen in sci-fi films and television, so I had plenty of ideas swirling in my mind. However, it wasn’t until I came across a box of assorted materials that Sam, our technician, had sourced for us that I started to develop a clearer vision of its shape.

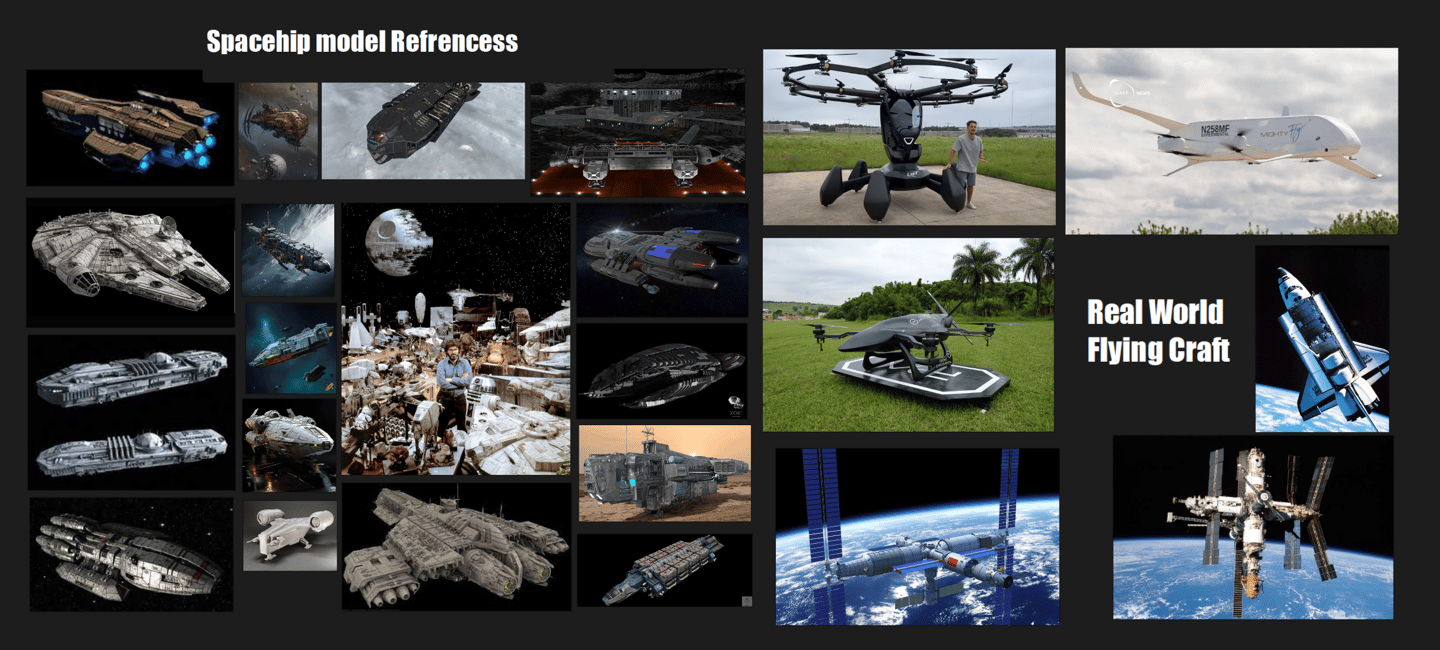
PureRef Moodboard
Greenscreen footage
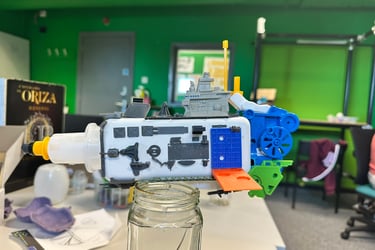
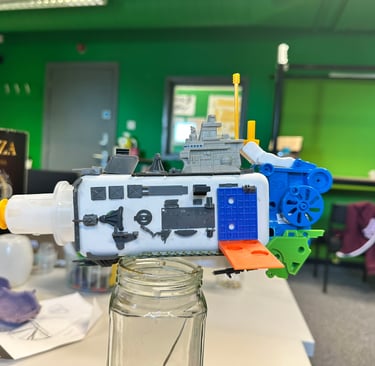
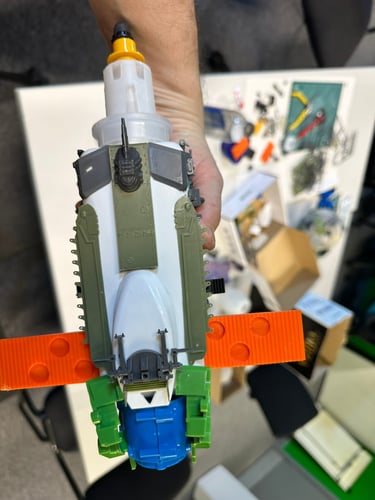
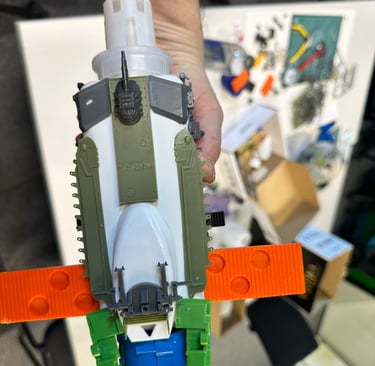
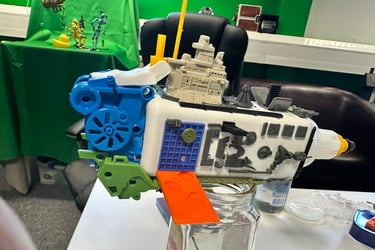
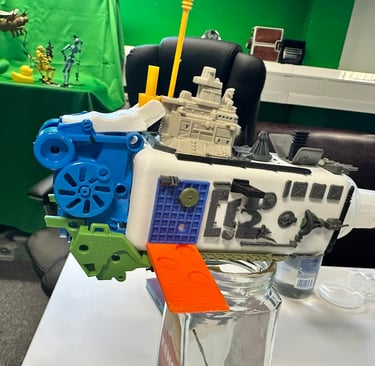
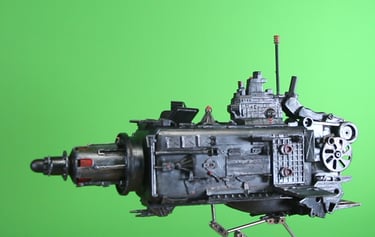
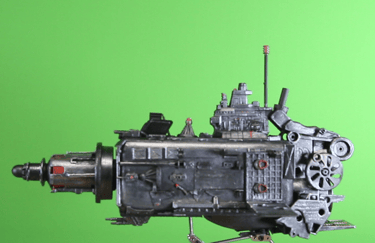
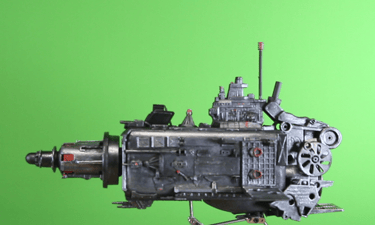
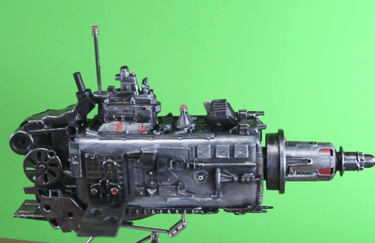
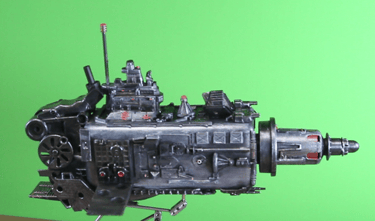
I found the main body of the ship in one of the boxes, a shampoo bottle. Its oblong shape immediately gave me a sense of form. From there, I started gathering additional parts to refine its structure. A pump mechanism from a cleaning product became the ship’s nose, defining its overall shape. I also sourced model pieces that were ideal for the captain’s bridge and the rear section housing the rockets. To ensure proper paint adhesion, I wet-sanded all these components, including the bottle.
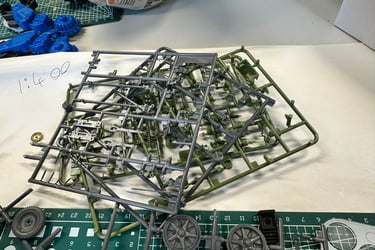
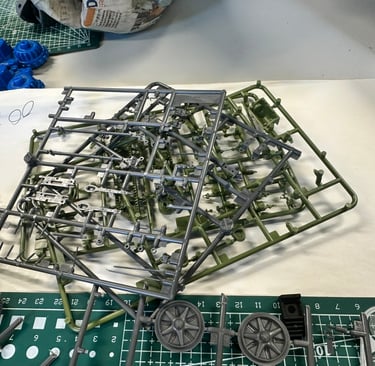
With the foundation complete, it was time to start greebling. To add intricate details, I purchased three model kits—a tank and two different types of military guns, which proved invaluable for this build. I also scavenged various bits and pieces from home. The wings on either side, for instance, were made from laminate floor spacers, adding a practical yet effective touch to the design.
Building my spaceship
Refrence images


Filming
Shampoo bottles and model kits
Using a motorised slider
I set up my spacecraft in front of the greenscreen, securing it to a metal rig and positioning it as best as I could. Capturing high-quality footage proved more challenging than I had anticipated. Using a Neewer ER1 motorized slider kit, I initially filmed with a Canon EOS 700D DSLR. The process was enjoyable, and I even helped my fellow students set up their shots. However, once I reviewed the footage at home, I noticed it wasn’t as sharp as I had hoped. Determined to improve it, I returned the next day and spent three hours refining my shots—only to find they were still slightly blurred.
The following week, I borrowed a different camera from AV, the Canon EOS R7, along with additional lighting: two large LEDGO flat panel lights and four smaller 9-inch video soft lights. The R7 needed to be positioned further back, but the improved lighting made a significant difference. The R7 also featured manual focus aids, including Focus Peaking, which highlighted the sharpest areas of the image using a color reference on the LCD screen. Additionally, I switched to a different rig for the spacecraft—a green plastic setup that required slight modifications.
I set up the slider to track my spacecraft from left to right, making multiple passes to ensure I captured at least one perfect take. When I reviewed the footage, the difference was clear—sharper, more refined, and finally in focus. The next step was to import it into After Effects for post-production.


The initial footage wasn’t as sharply focused
The D7 footage displayed here has improved clarity and focus
Sample edit with HD stock footage
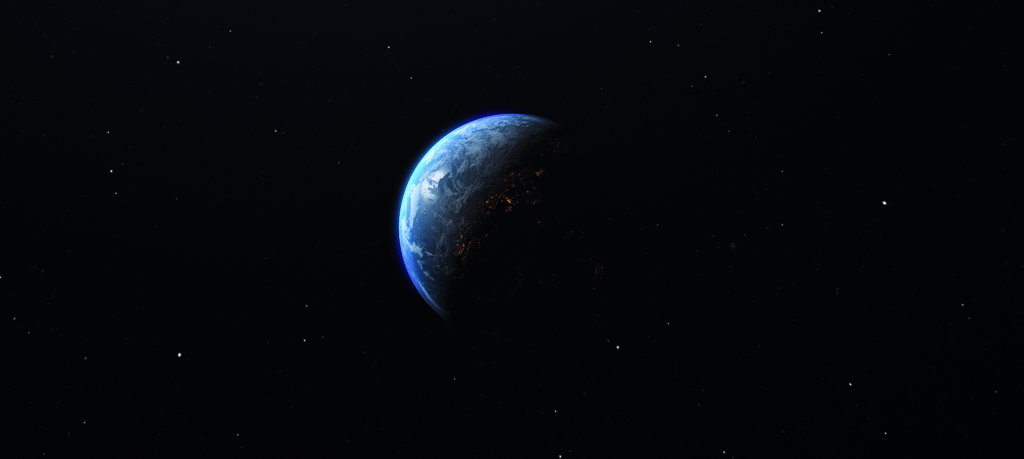
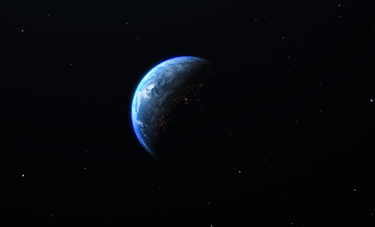
Creating a unique star scape with planet earth
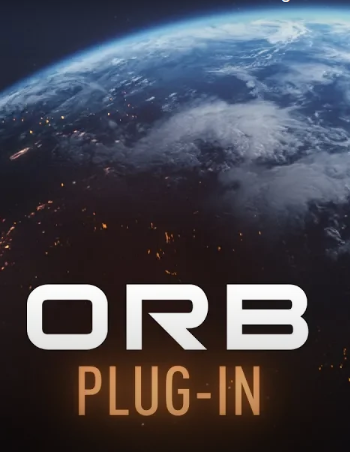
Video Copilot plugin
My tutor, David, kindly introduced me to Video Copilot, a renowned video creator with an extensive collection of high-quality products and tutorials. I explored the free After Effects plugin, VC Orb, and was truly impressed by its capabilities. To familiarise myself with its features, I followed the Ultra 3D Earth tutorial, which provided a detailed walkthrough of how to use VC Orb effectively. The results were nothing short of impressive.
After Effects
Importing the greenscreen footage
Working through the challenges
I never shy away from a challenge; I constantly set high standards and problem-solve until I achieve the desired result. This project was no exception until I started working with the D7 footage and the green plastic rig.
Initially, I imported the 700D footage and attempted to sharpen the image while removing the rig. However, I hadn’t filmed a greenscreen plate without the ship, which made editing more complex. Without a clean background reference, the mask didn’t track perfectly, requiring me to adjust each frame manually. Additionally, the footage itself wasn’t ideal, and sharpening only made it look artificial.
The experience was completely different when working with the D7 footage. Thanks to the improved rig and better focus, I only had a small section to mask out, and tracking was effortless. With a few fine adjustments to the key light effect and some color corrections, the final composition was ready to go.
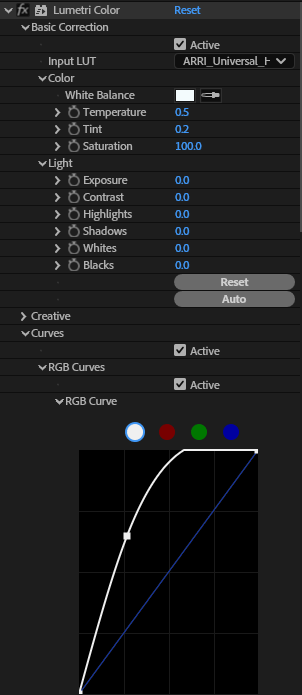
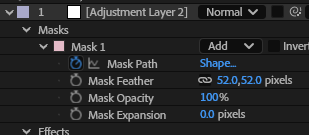
I added an adjustment layer, added a feathered mask around the ship, and tracked it. Then I used Lumetri Colour to make colour adjustments to the ship. For the final touch, I added an ominous soundtrack from my music effects library.
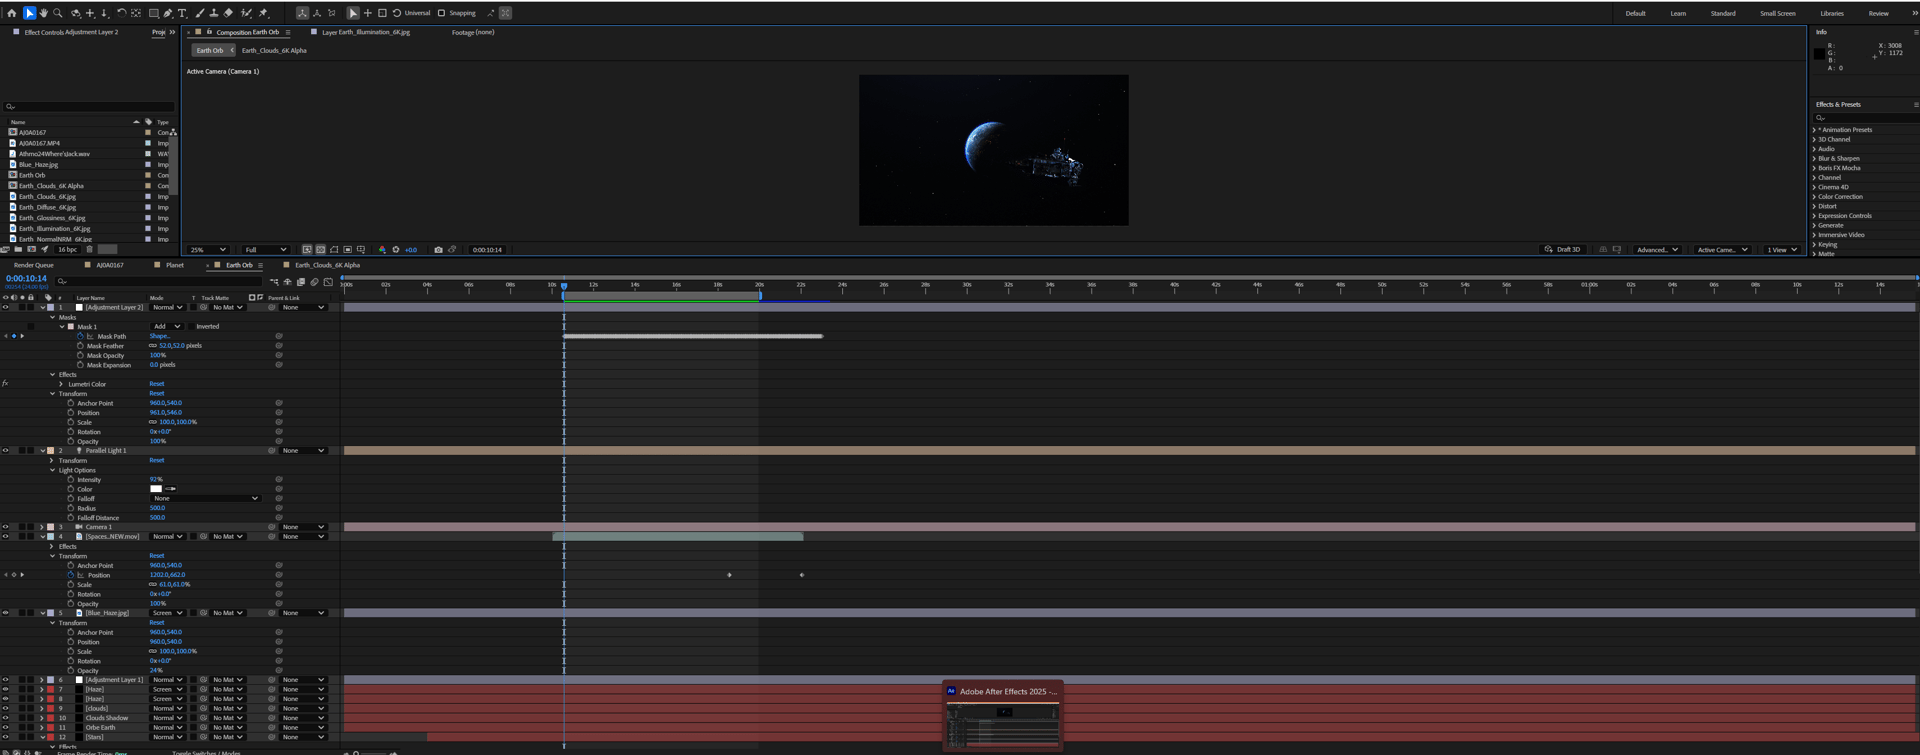


After Effects Project
Lumetri Colour
Mask Path
Mask Tracking
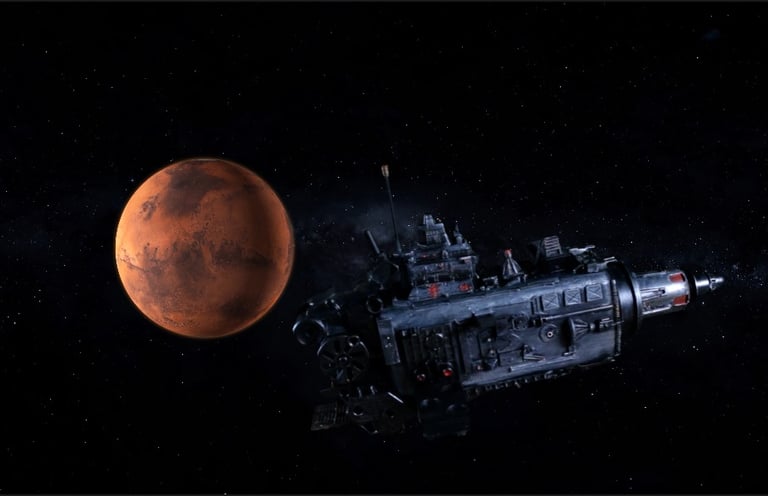
The Flyby
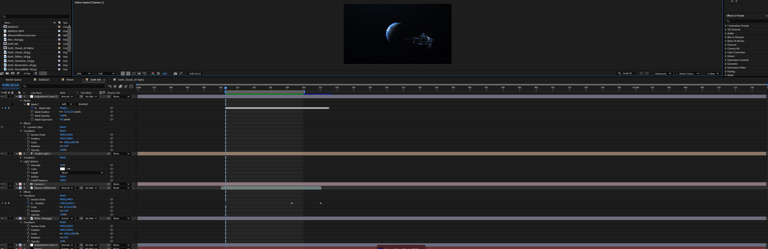
The final result
Final Thoughts
Reflection
This was the project I was most excited about. When I first saw the original Star Wars in cinemas back in 1977, I was instantly hooked. After watching the second and third instalments, I became fascinated by the behind-the-scenes process and especially drawn to the art of model-making.
As a kid, I loved building Airfix models, and I vividly remember modifying a Space: 1999 model by combining it with parts from other broken kits. For a long time, I dreamed of becoming one of those model makers who brought sci-fi worlds to life on screen.
Working on this task reignited that passion. I loved every aspect, from crafting and assembling to filming and editing, even with its challenges. It was the perfect way to wrap up my first year.
Business address: Voice of Drew, Carlisle, CA2 6ER | UTR: 7259771174 Copyright Drew Campbell 2024