
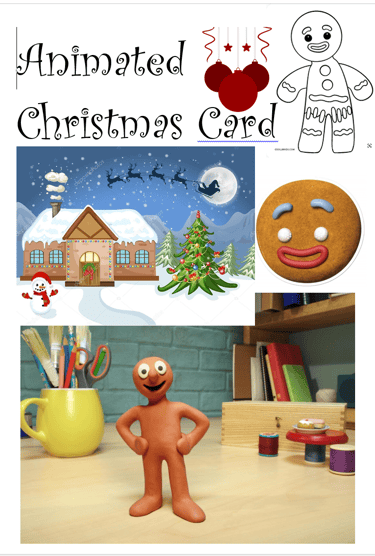
Task #4: Animated Christmas Card
with the song "We Wish You A Merry Christmas"
ANIMATION AND VFX PIPELINES
Drew Campbell
12/25/20247 min read


Animated Chrismas Card
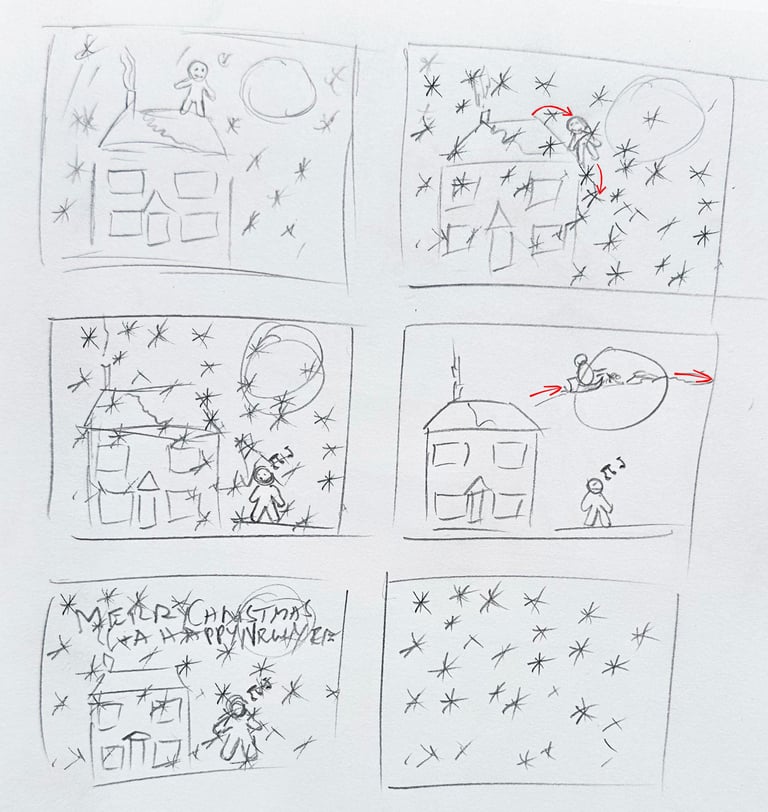
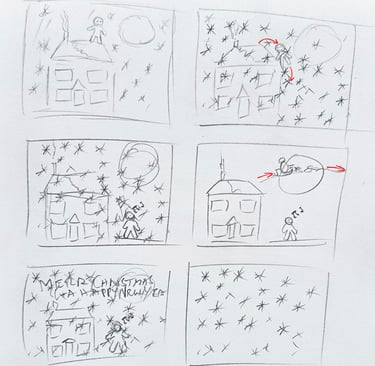
Rough Sketches
I had a clear vision of what I wanted to achieve, so the first step was getting those ideas onto paper. I grabbed a pencil and started sketching—nothing too precise or polished, just quick, instinctive drawings to map out the overall concept.
These rough sketches weren’t about perfection; they were about capturing the essence of the scene, the composition, and the movement I envisioned.
The Storyboard
Objective
Our assignment was to create a short animated Christmas scene featuring a festive decoration lip-syncing the first verse of We Wish You a Merry Christmas. The original plan was a collaborative effort, culminating in a class-produced digital Christmas card that combined everyone’s animations into one cohesive video. Things didn’t quite pan out that way, though—we each ended up producing individual cards instead.
Some students created singing baubles, while others even animated mince pies belting out the tune. For my part, I chose a mixed-media approach, blending model-making, stop motion, and visual effects to bring my piece to life. I used a combination of Photoshop and After Effects to refine the animation and enhance the final look.
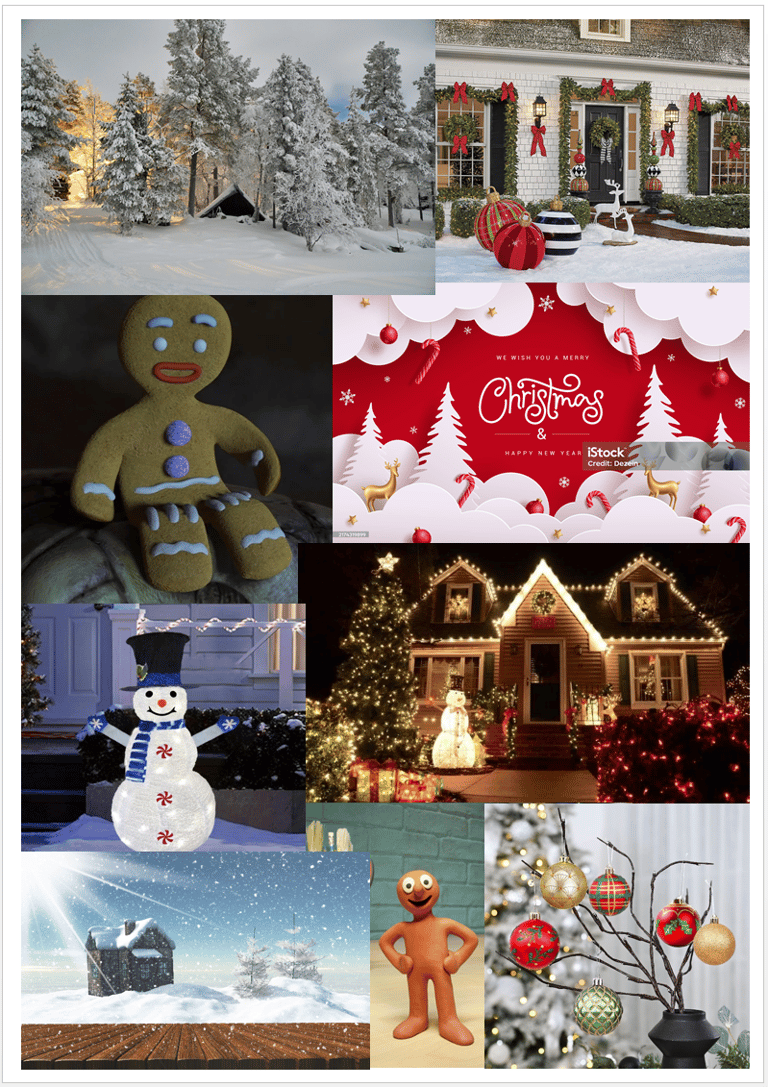
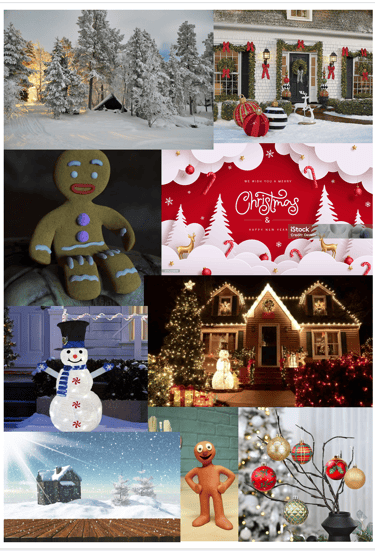
The Moodboard
Images for Insperation
I created both a mood board and what I call an inspiration board. Each serves a distinct purpose, helping to shape the project's tone and visual direction. In the end, the images speak for themselves.

Recording the song
We wish you a Merry Christmas
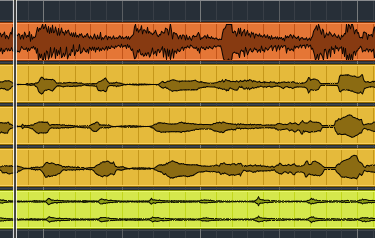
As part of the project, we were required to record ourselves singing We Wish You A Merry Christmas, incorporating a personal musical element into the final piece. Given my background as a musician, I chose to go beyond a simple vocal recording and accompany myself on the guitar, adding a rich and dynamic sound to the performance.
To achieve a more polished production, I recorded the session in my garden studio. This dedicated space allowed for a controlled acoustic environment, minimising unwanted background noise and enhancing the clarity of both the vocals and the instrument. The setup contributed to a more professional feel, ensuring that the recording quality matched the effort put into the animation and design elements of the project. By combining live instrumentation with a carefully managed recording process, I was able to create a warm and engaging rendition of the song that complemented the visual storytelling of the Christmas card.

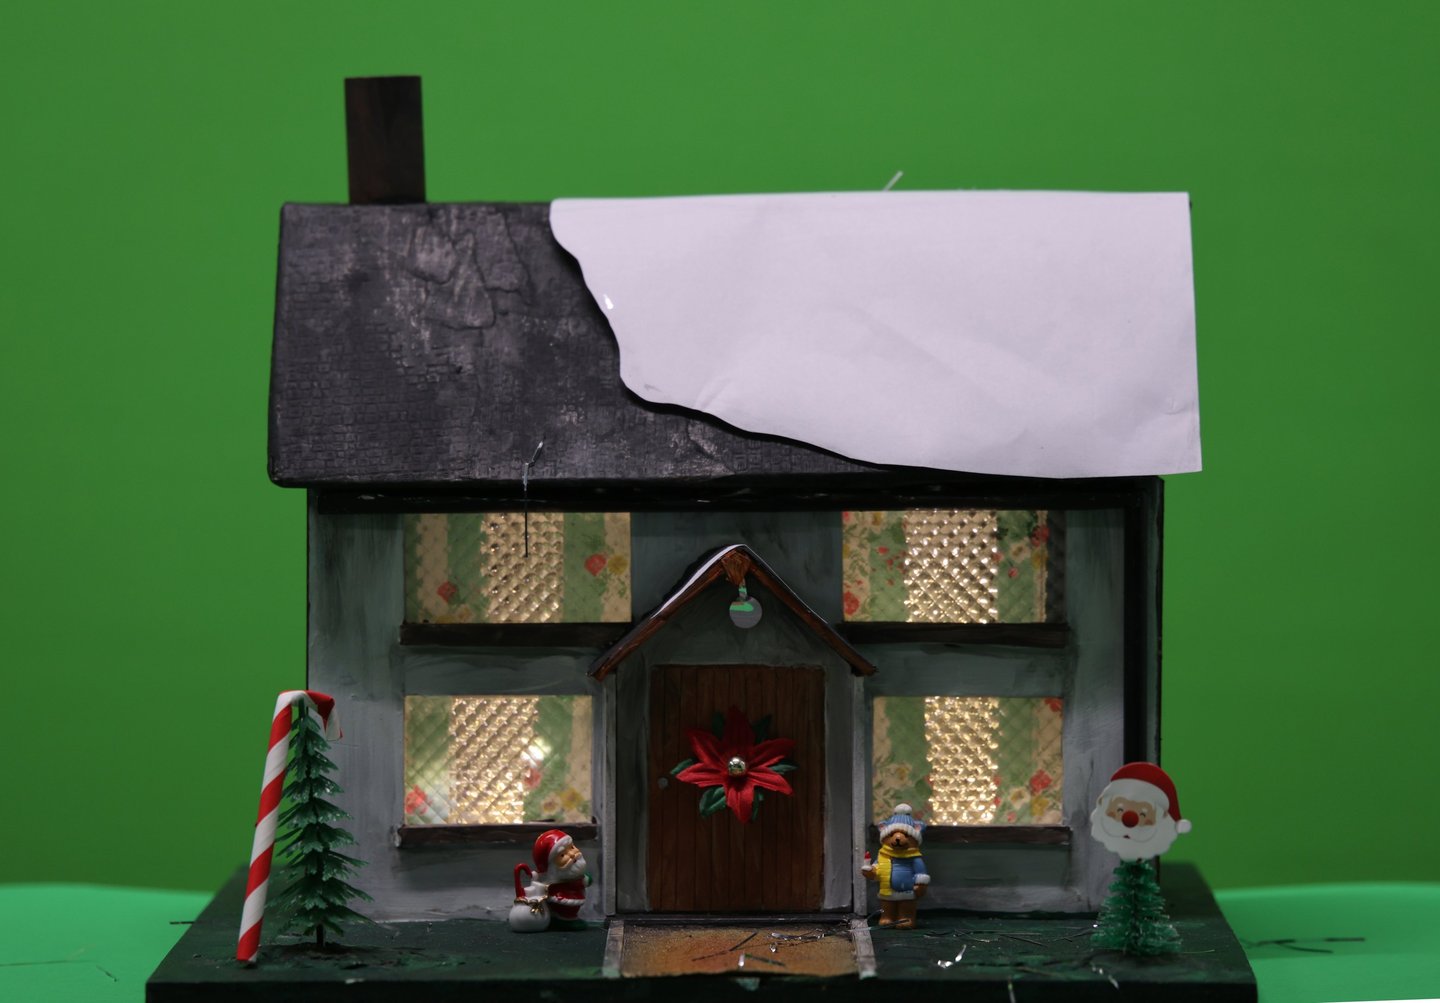
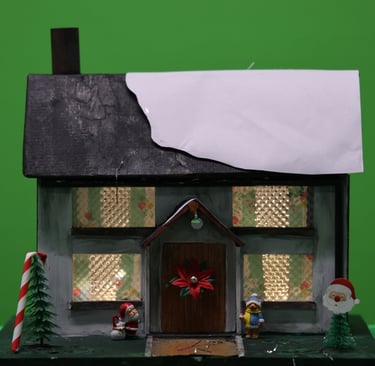
Background Video
My house from a previous project
For the background of the Christmas card, we were required to film a video. One common suggestion was to capture the Christmas tree displayed in the main reception of the university, focusing on its festive decorations, particularly the shimmering baubles. However, I decided to take a more personalised approach by incorporating the small-scale model house I had created for Task 2.
To achieve a professional visual quality, I filmed the scene using a Canon DSLR camera against a green screen backdrop. This setup allowed greater flexibility in post-production, enabling me to seamlessly integrate the house into the final composition. To enhance the wintery aesthetic, I placed carefully shaped white paper across the roof to mimic the appearance of snow. I intended to digitally superimpose a more textured snow covering onto the paper during the editing process, giving the effect greater realism.
As I filmed, I sprinkled small fragments of tinsel over the house to create a subtle glistening effect. The reflective nature of the tinsel added a touch of sparkle to the scene, reinforcing the festive atmosphere and making the miniature house feel even more magical in its setting.
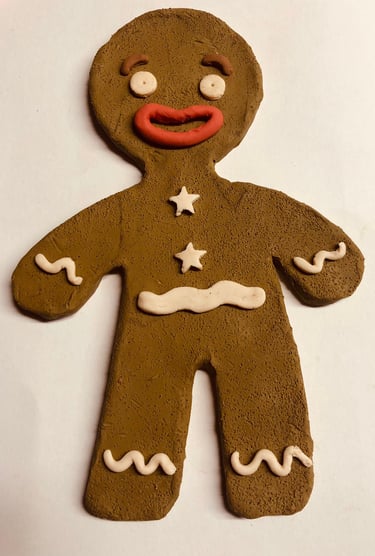
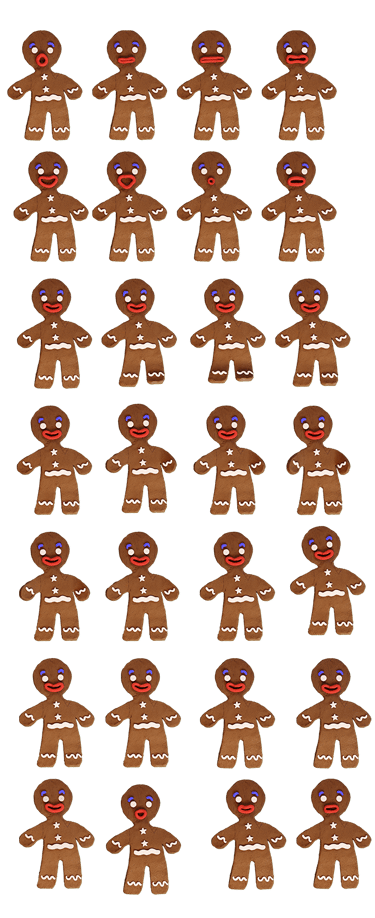
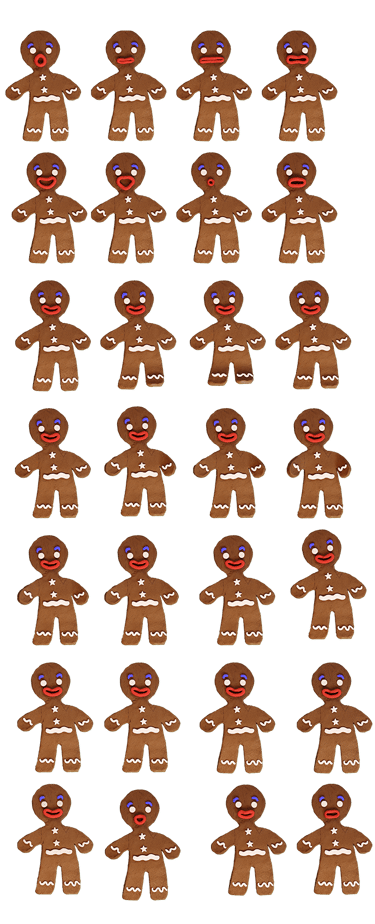
Making the Gingerbread Man
Sculpting the Plasticine
With the base structure of the gingerbread man decided, the next step was sculpting it from plasticine. To ensure consistency in proportions, I downloaded a stencil of the iconic Shrek gingerbread man. While I used this as a guideline for the overall shape, I opted for a more traditional icing design, steering away from the distinctive patterns seen in the film.
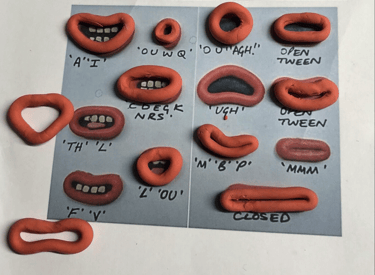
One of the biggest challenges was crafting the mouth shapes, particularly ensuring they were expressive and suitable for animation. Using red plasticine for the mouths added a pop of color, but shaping them convincingly was no simple task. To streamline this process, I referenced an Aardman plasticine mouth shape chart, which helped guide the formation of different expressions. This reference made the sculpting more efficient, ensuring that the mouths could convey a range of emotions while maintaining the consistency needed for stop-motion animation.


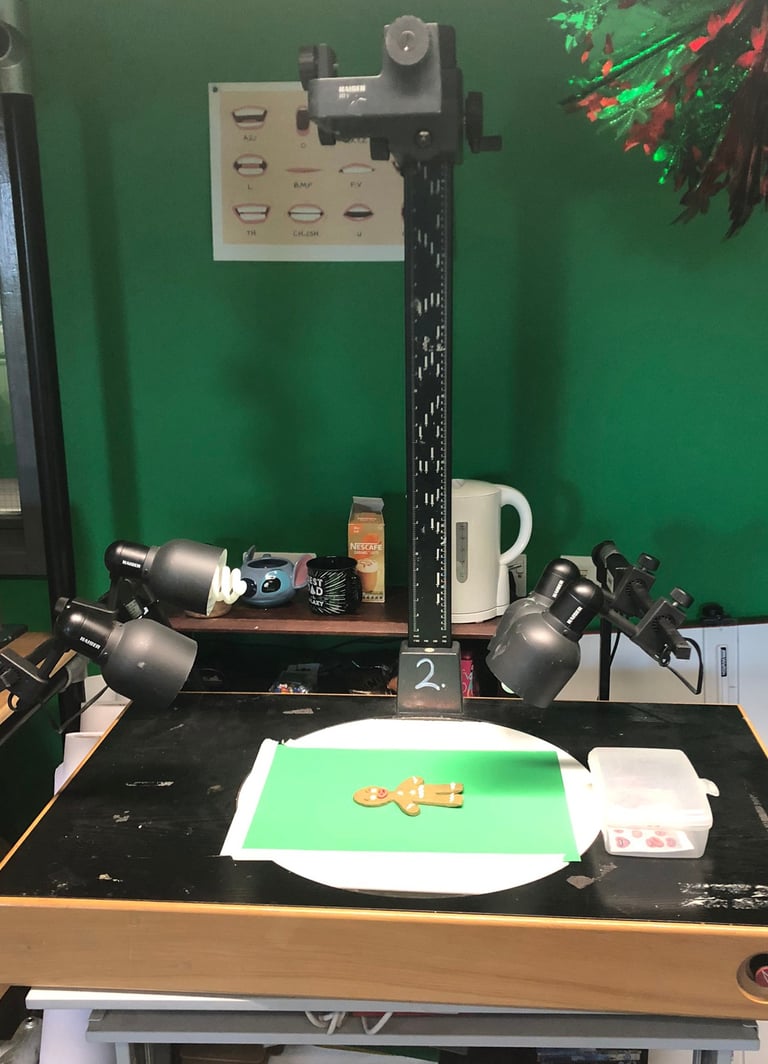
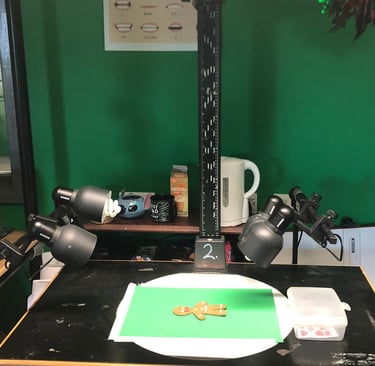
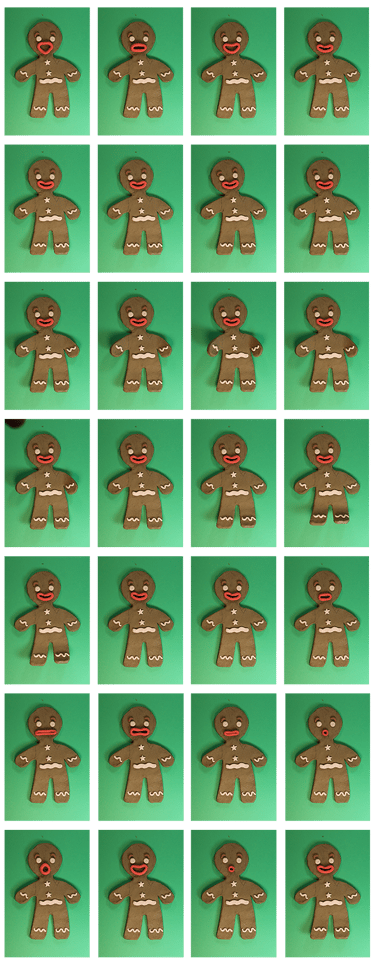
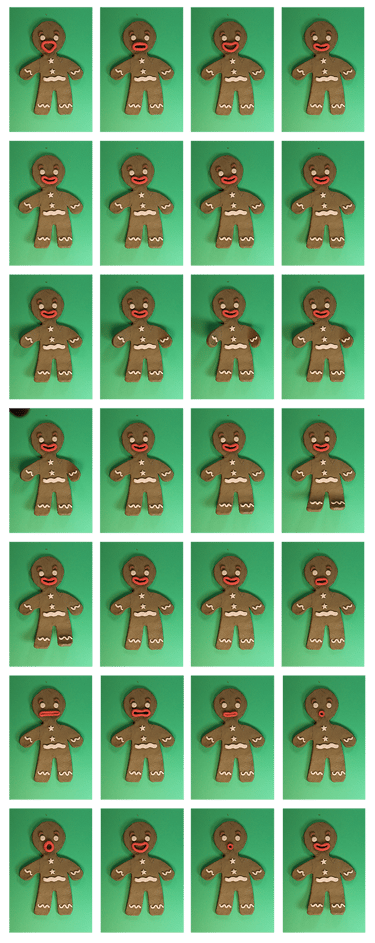
Animating the Gingerbread Man
Frame by frame
To bring the gingerbread man to life through animation, I used a rostrum setup, allowing for precise control over each frame. I placed the gingerbread man flat on the platform, positioning it on top of green-screen-colored paper to facilitate easier background removal in post-production.
Over the course of the animation process, I captured 28 still images, carefully adjusting the mouth shape for each frame to create a natural progression of movement. Some mouth shapes were reused strategically throughout the sequence to maintain consistency and efficiency while ensuring fluidity in the character's expressions. In addition to adjusting the mouth, I incorporated subtle movements of the head, arms, and legs, adding a more dynamic quality to the animation and making the gingerbread man feel more lively.
Once the images were captured, I processed them using Photoshop, meticulously removing the green-screen background from each frame. This step ensured that the character could be seamlessly integrated into the final composition. The cleaned-up PNG image sequence was then imported into After Effects, where I layered it alongside the house footage. By combining these elements, I was able to create a cohesive visual narrative that tied together the various components of the animated Christmas card.
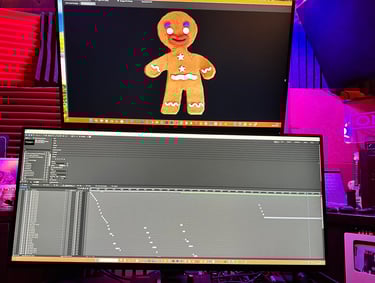
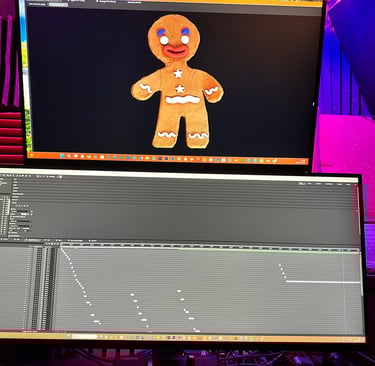
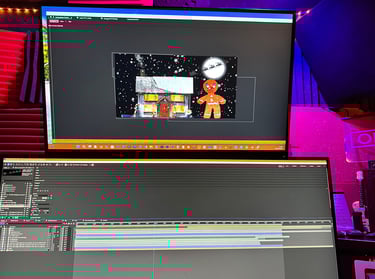
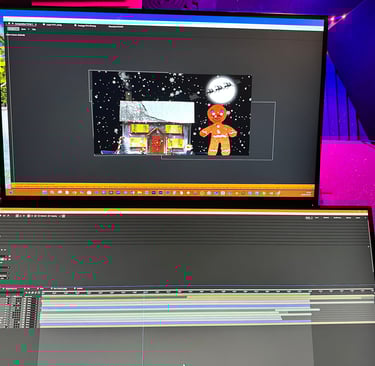
Animating the Card
Editing in After Effects
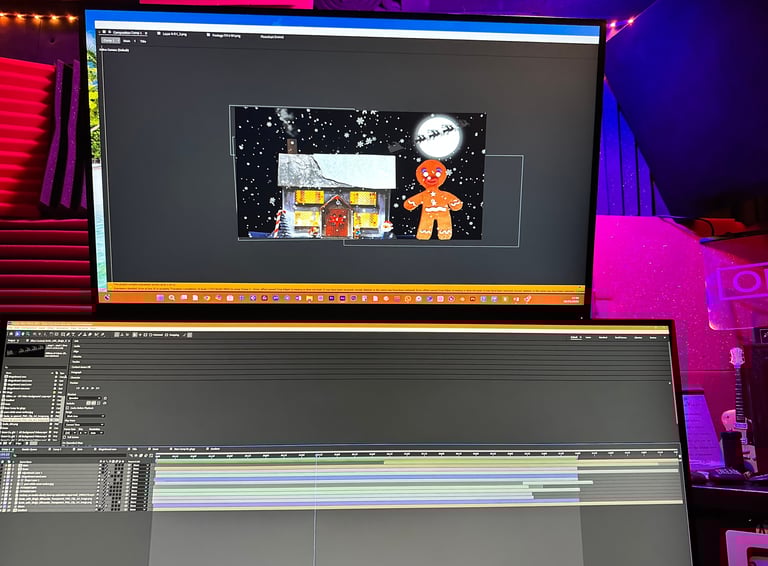
I created an After Effects project with a 1920 x 1080 pixel aspect ratio. Instead of designing a full scene, I opted for a flat black background to maintain focus on the key elements. I then imported the green screen footage of the house, followed by the gingerbread man. Using Keylight, I effectively keyed out the house, while the gingerbread man’s image sequence, pre-keyed in Photoshop, integrated seamlessly into the composition.
For the moon, I generated a circular shape within After Effects and applied a glow effect to enhance its appearance. To add a festive touch, I incorporated a silhouette of Santa’s sleigh being pulled by reindeer, animating its movement across the moon using keyframes. Positioning the gingerbread man on the roof, I animated his jump onto the ground, where he begins singing, again utilising keyframes for smooth transitions.
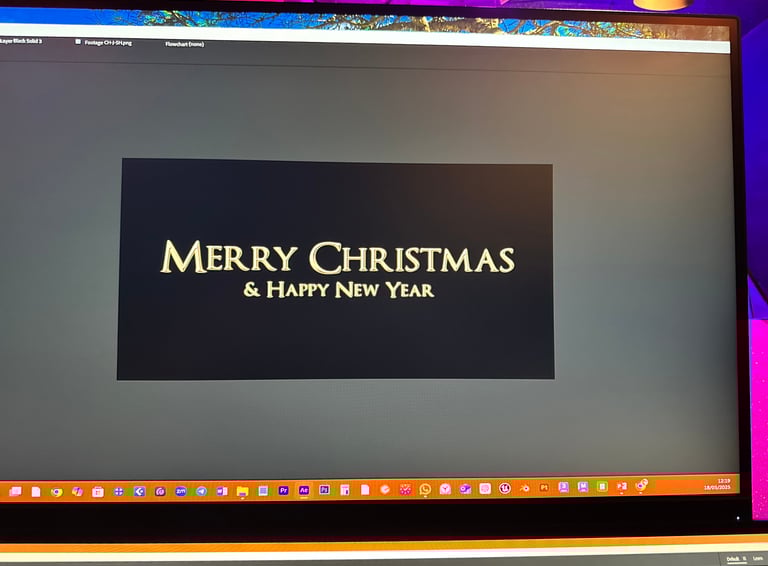
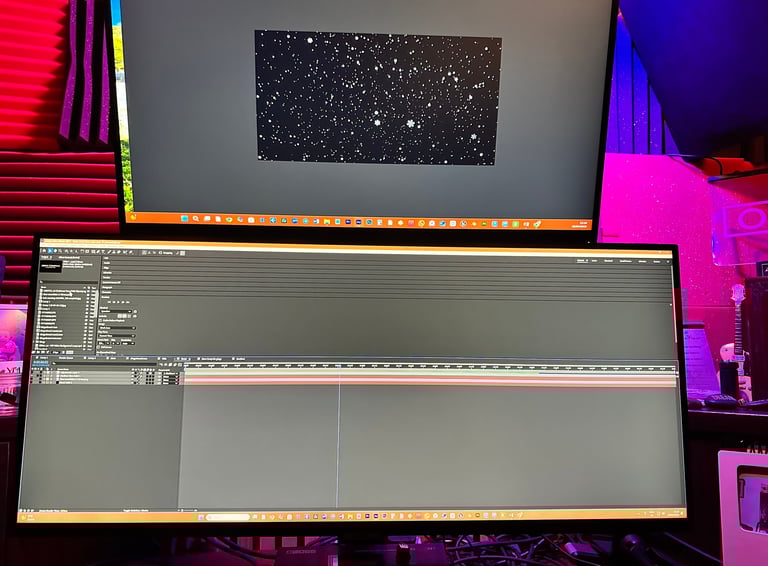
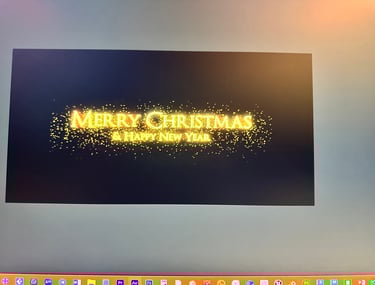
To create a snowfall effect, I used the CC Particle World effect, employing a PNG image of a snowflake that was duplicated, randomly sized, and distributed dynamically within the particle system. No Christmas card would be complete without a seasonal greeting, so I added a title sequence featuring “Merry Christmas and a Happy New Year.” To enhance its visual appeal, I applied a combination of effects—CC Particle System 2, Vegas, and two Glow effects. I keyframed Vegas to produce a shimmering shine effect around the letters, while additional keyframing adjusted opacity and scale for a refined finish.


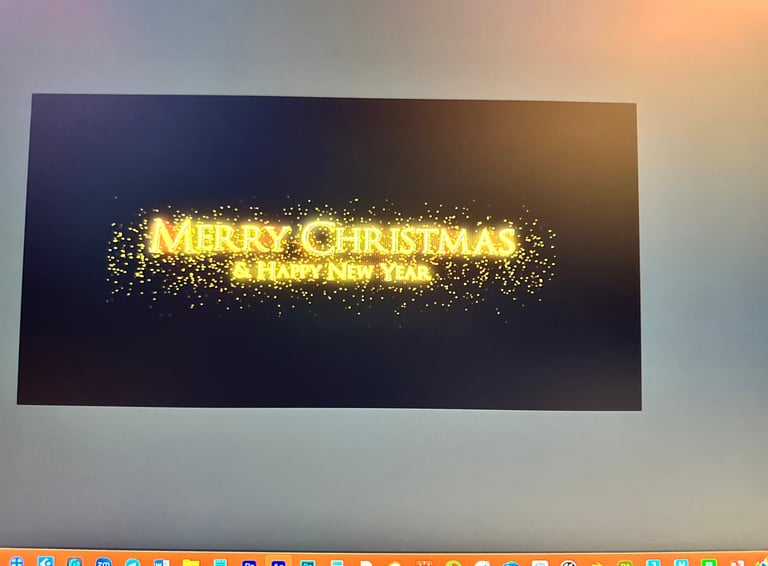


Animated Card
The final result
Final Thoughts
Overall, I’m pleased with how this project turned out. It has been an incredibly rewarding experience, not just in terms of the final result but also in the skills I’ve developed along the way. Working extensively with After Effects and Photoshop has refined my technical proficiency, allowing me to experiment with new visual effects and animation techniques. More importantly, this process has deepened my understanding of how different elements, digital and physical, can be combined to create a cohesive and engaging animation.
This was also my first time exploring stop motion animation. The project challenged me to problem-solve. Ultimately, it’s been a valuable learning experience, one that has strengthened both my technical skill set and my artistic perspective.
Business address: Voice of Drew, Carlisle, CA2 6ER | UTR: 7259771174 Copyright Drew Campbell 2024