Task #3: Storyboard
Design and Development from Script
ANIMATION AND VFX PIPELINES
Drew Campbell
11/26/20244 min read
For this task, we were required to read and interpret an assigned script, then visually break down and block the action through a storyboard. Effective animation begins with careful planning, so storyboarding should always precede production to ensure a cohesive cinematic sequence. The objective was to translate the script into a visually engaging narrative, considering key elements such as character movement, camera angles, locations, and props.
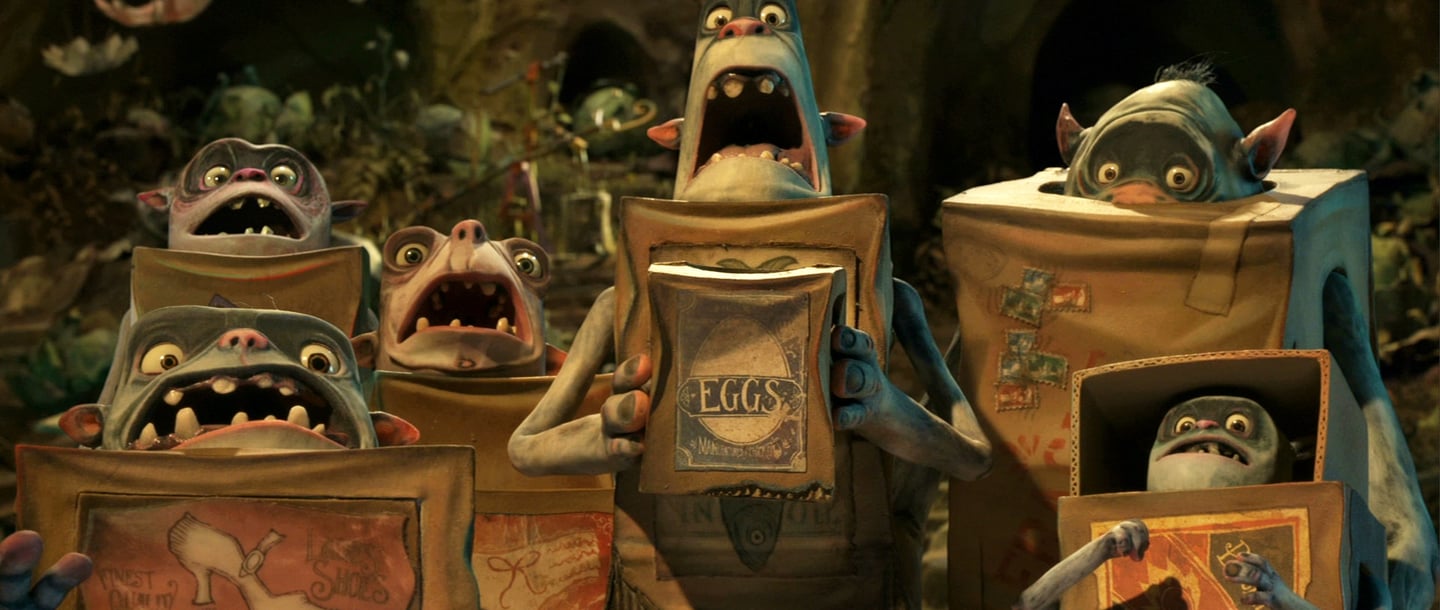
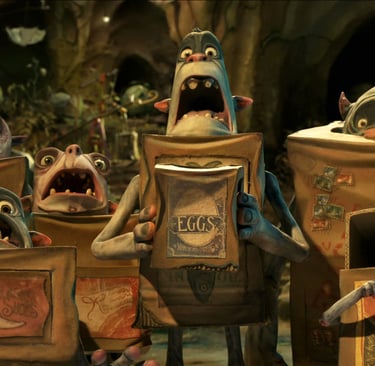
I selected The Boxtrolls as my script. Having never seen the film, aside from a single viewing of its trailer, I approached the task without preconceived notions. This allowed me to craft my own interpretation, ensuring my storyboard reflected an independent vision rather than being influenced by the movie’s existing scenes.
Storyboard
Storyboard Design and Development from Script
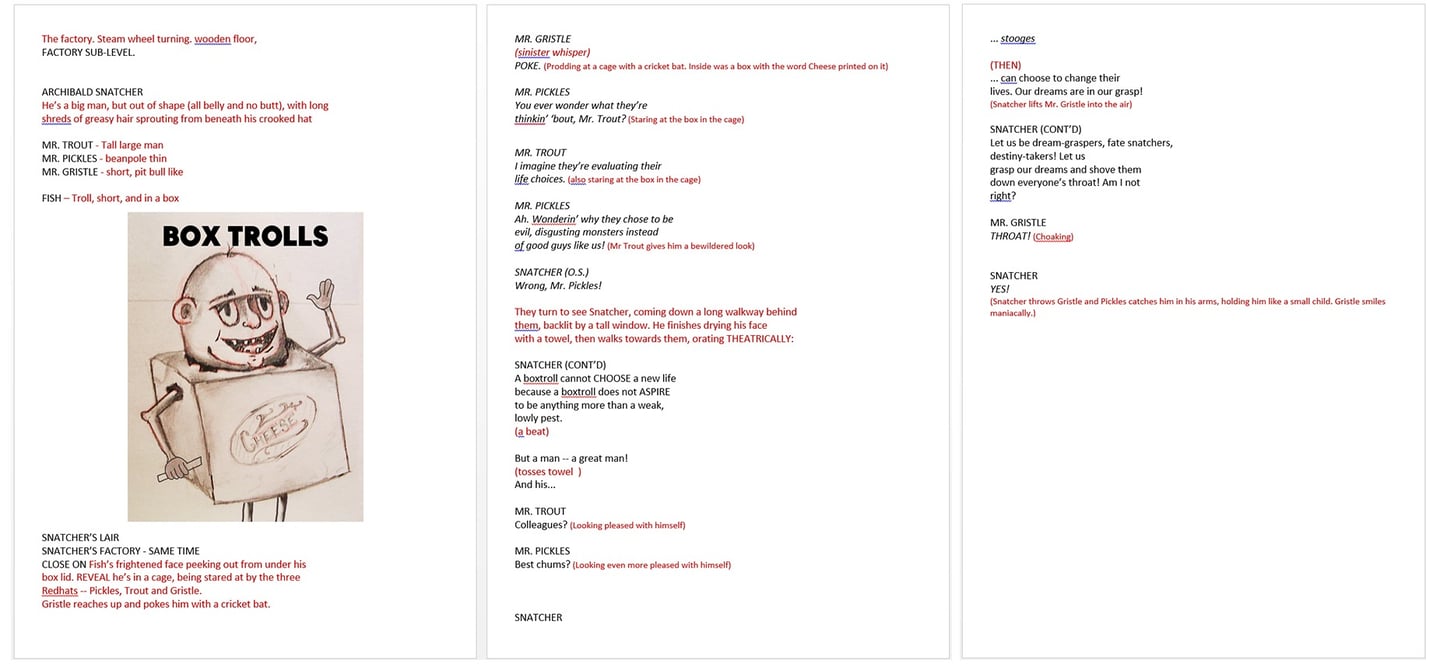
THE SCRIPT
Reading the script, taking notes and breaking it down
I read the script multiple times before selecting a scene. In the end, I chose Snatcher’s lair, as its factory-like setting had the perfect dark, atmospheric tone. To break it down, I first analyzed the sequence mentally while jotting down notes—a process that proved challenging at first.
Having spent over 12 years reading scripts as a voice actor, I am accustomed to interpreting dialogue and pacing. However, working with a movie script presented a different set of considerations. Initially, translating the scene into a visual sequence felt unfamiliar, but as I continued, I found myself naturally picturing the action. Before long, I had a fully realized breakdown, complete with detailed notes.

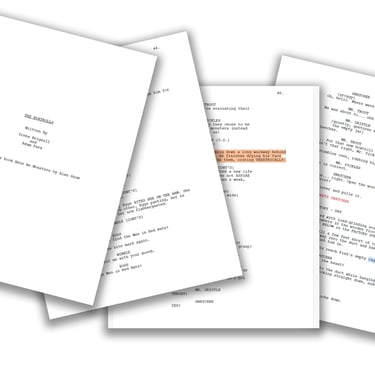
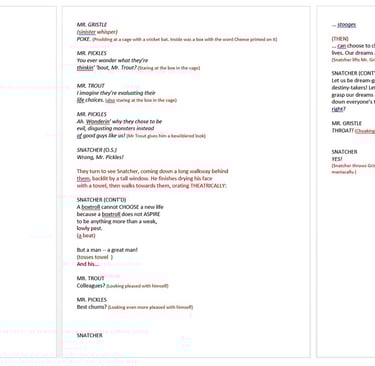
FINISHED SCRIPT
Breakdown with notes
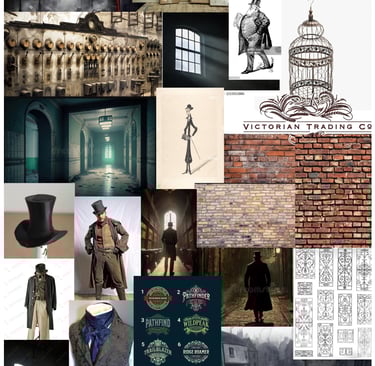
RESEARCH
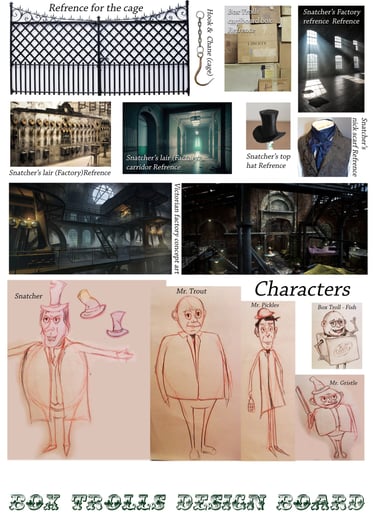
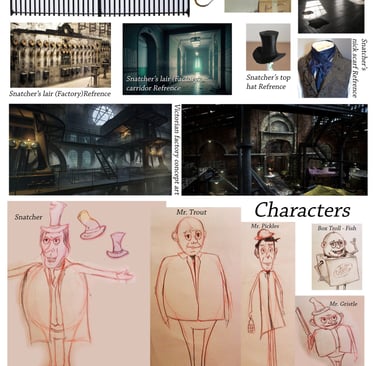
Mood board and design board
While reading the script, I was immediately drawn to the Victorian era, which informed much of my visual research. I explored images of Victorian ironwork, particularly metal cages and birdcages, as well as the dark, oppressive atmosphere of factories from this period. Tall windows, long corridors, and period-appropriate clothing further shaped the visual tone.
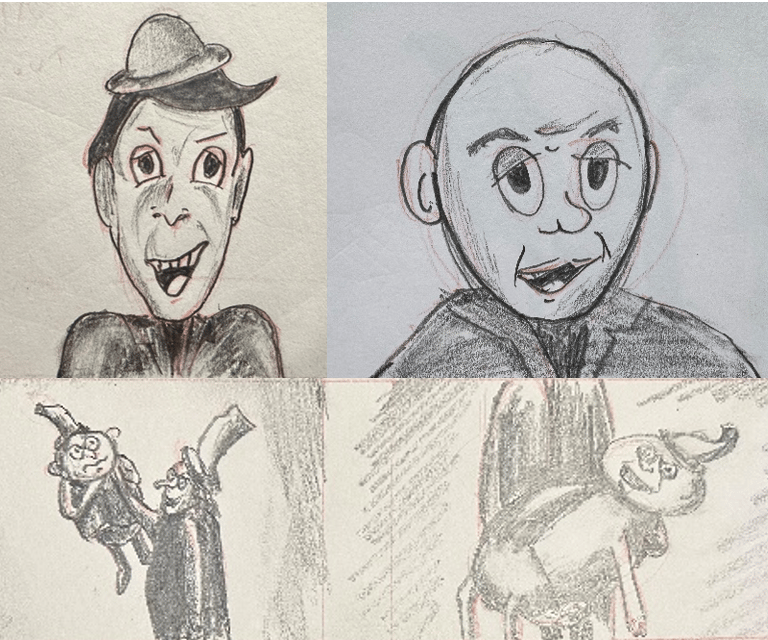
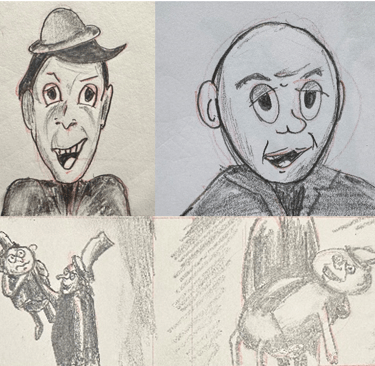
Once I had gathered a substantial collection of references, I constructed my design board and sketched the characters based on their descriptions in the script. I applied principles from Task #1, using shape language to define personalities:
Circle — Soft, squishy, often suggesting a lack of rigidity.
Square — Solid, sturdy, strong, conveying stability.
Triangle — Sharp, directional, associated with aggression or precision.
Circular forms in villain designs can subtly hint at their vulnerability, reinforcing that danger doesn’t always come from a traditionally menacing appearance, as seen in Snatcher, Mr. Trout, and Mr. Gristles.
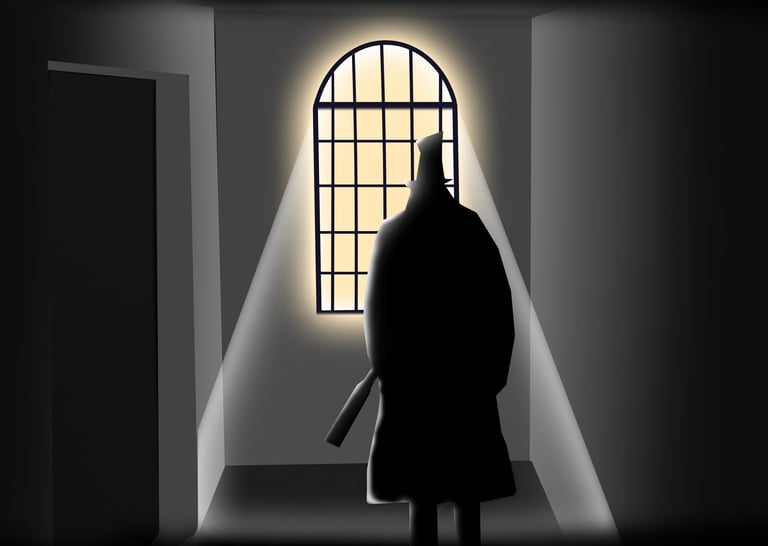
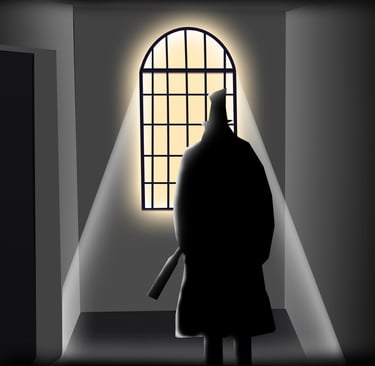
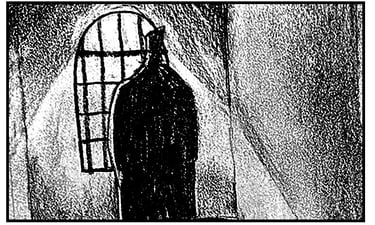
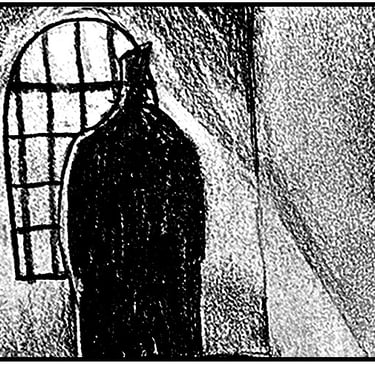
To establish the storyboard’s mood, I blocked out a key frame from the script, depicting Snatcher silhouetted against the towering factory window as he strode toward his henchmen; a striking composition that encapsulated the scene’s ominous tone.
Mood board, design board and blocking
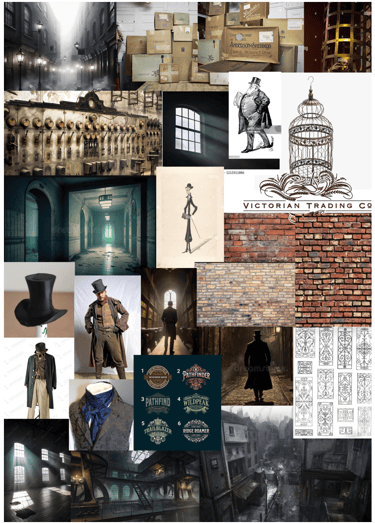
Moodboard
Designboard
Blocked frame
Frame from storyboard
The process
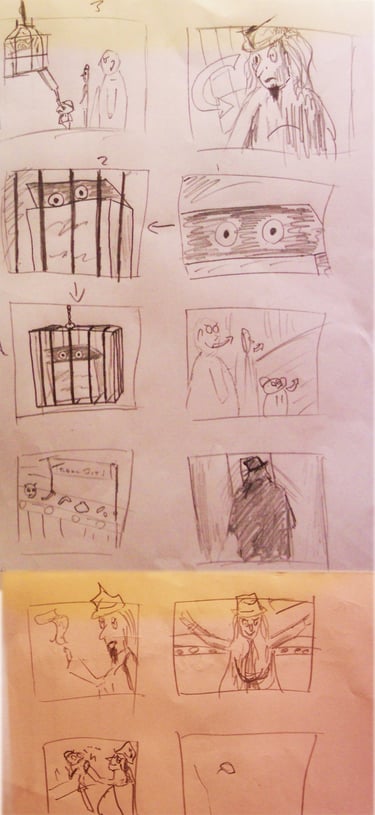
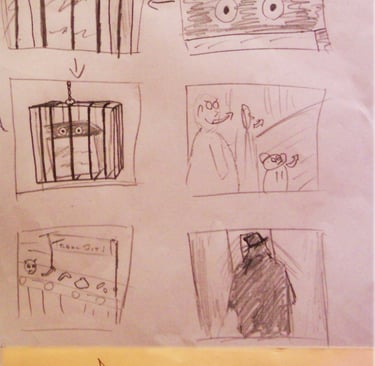
STORYBOARD
Rough and refined sketches
In the initial stages, I created rough sketches to map out each frame, focusing on composition and narrative sequencing. These early drafts helped establish the visual rhythm of the storyboard while allowing for adjustments to the order of scenes.
As the project progressed, I refined the sketches of Mr. Pickles and Mr. Trout, ensuring they aligned with the final storyboard’s aesthetic and storytelling goals. Additional images were also polished and integrated into the completed storyboard.
Once each frame was finalized, I imported them into a Photoshop template, where I applied digital enhancements to elevate their presentation. This process added a professional finish, improving clarity and cohesion across the storyboard.
The final result
STORYBOARD
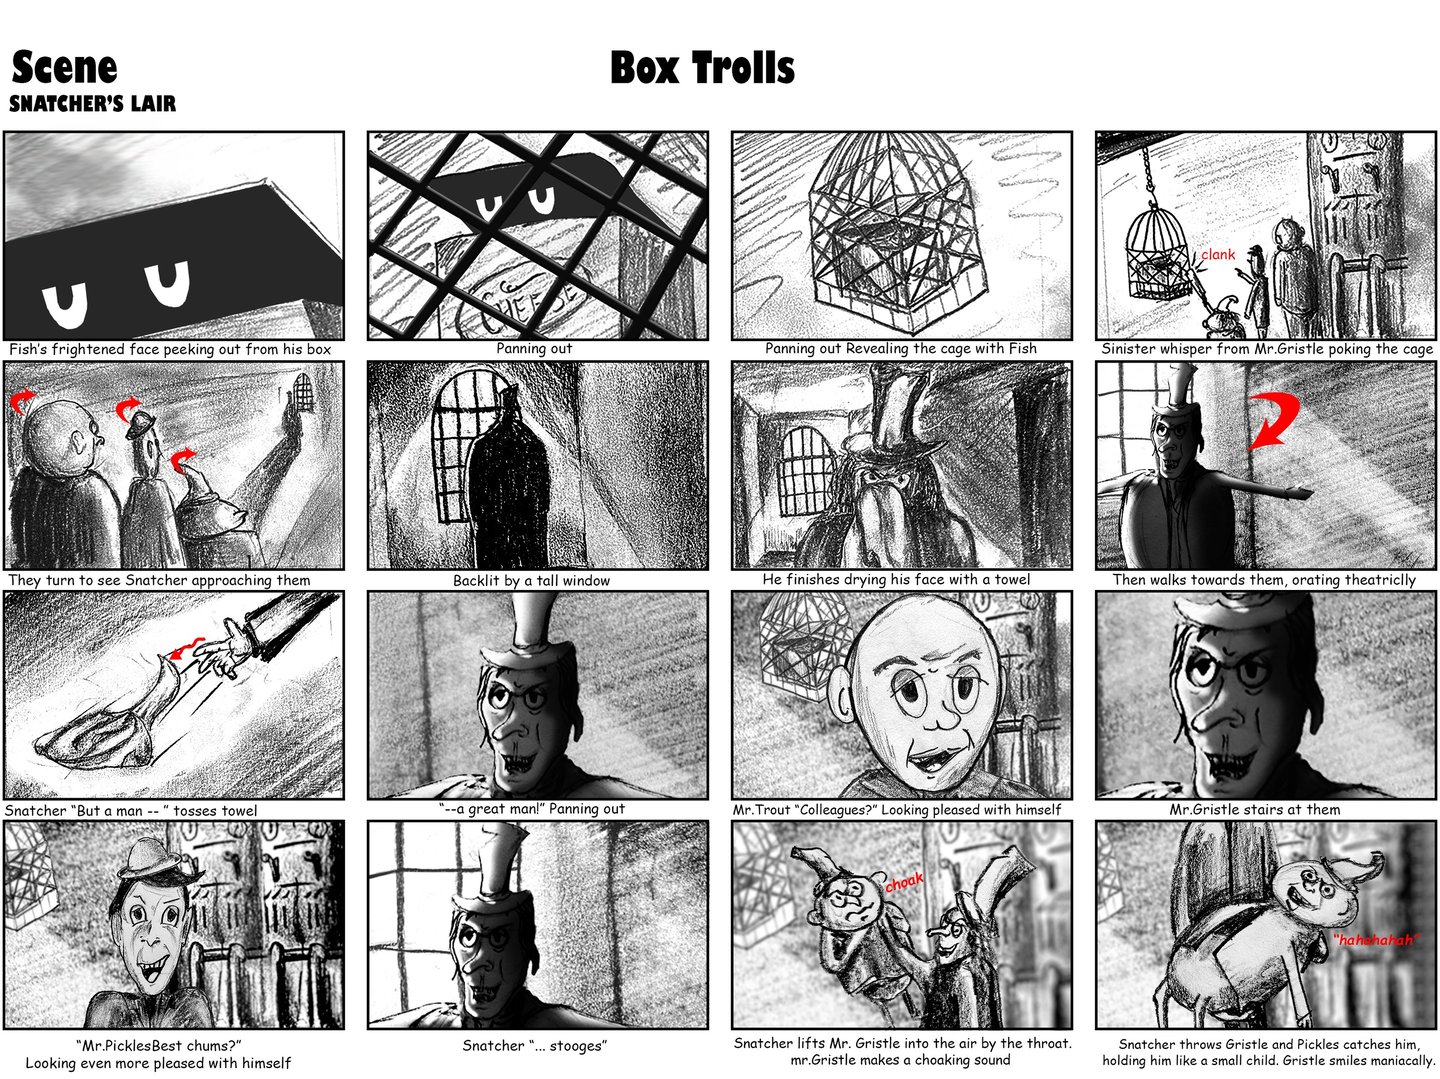
Refined in Photoshop
I completed the storyboard in Photoshop, enhancing it by adjusting levels and applying a slight background blur in a few frames to create depth.
To guide the animation process, I included directional text and a few spoken lines, originally intending to produce an animatic with voiceover. Unfortunately, due to time constraints, this step wasn’t completed.
I also added red directional arrows and text to represent sound effects, such as the auditory cue in the fourth frame at the top.
Final Thoughts
Reflection
This project proved to be more challenging than I anticipated, as storyboarding is not an area I’ve had much experience in. While I’ve been drawing since childhood and excelled in O-Level Art, earning an A grade, you might assume this task would come naturally to me. However, I quickly realised that storyboarding demands a different approach than traditional illustration.
Unlike my usual detailed artwork, effective storyboarding requires a loose, dynamic style focused on composition and storytelling rather than intricate details. Adjusting to this mindset was an insightful learning experience, pushing me to rethink how I structure visual narratives.
Despite the difficulties, I welcome challenges rather than shy away from them. I’ve never been one to take the easy route, and I believe facing obstacles head-on is the best way to grow. This project reinforced that perspective, showing me that stepping outside my comfort zone is essential for artistic and personal development.
Business address: Voice of Drew, Carlisle, CA2 6ER | UTR: 7259771174 Copyright Drew Campbell 2024