Studio Lighting, Lens Tests and Chroma Experiments
AVFX5001 – Shot to Screen
SHOT TO SCREEN
Drew Campbell
3/20/20264 min read
Studio Lighting, Lens Tests and Chroma Experiments
Moving my fishing boat set into TV Studio 3011 at the University of Cumbria marked a clear shift in my production process for Catch of the Day. Until now, much of my attention had been on construction and physical detailing. In the studio, the focus changed from making objects to staging cinematic moments, testing how the set behaves under controlled lighting and through the camera lens.
This stage reflects an essential part of the Shot to Screen workflow, where independent experimentation helps translate story intention into visual language and practical production decisions.
Lighting as Storytelling
Lighting tests quickly became more than technical setup. By experimenting with diffused fill light, directional key light and varying shadow contrast, I began to explore how atmosphere could be shaped before any animation or compositing takes place.
The weathered textures on the boat responded strongly to angled light, revealing surface imperfections that enhance the illusion of age and use. These small visual details contribute to narrative authenticity, suggesting the lived history of the vessel. It reinforced the idea that lighting is not simply about exposure, but about communicating tone, environment and emotional context.
Green Screen and Blue Screen Comparisons
Testing both green and blue screen backgrounds helped me better understand the practical challenges of chroma compositing. My aim is to integrate the boat into digitally extended coastal environments, so achieving clean separation between foreground and background is crucial.
I observed how colour spill can subtly contaminate painted surfaces, particularly when the model is positioned too close to the screen. Switching between green and blue prompted me to consider colour relationships within the final frame, as well as how lighting balance affects keying quality.
These tests highlighted that successful VFX compositing begins with careful physical staging and lighting discipline on set, not just software techniques in post-production.
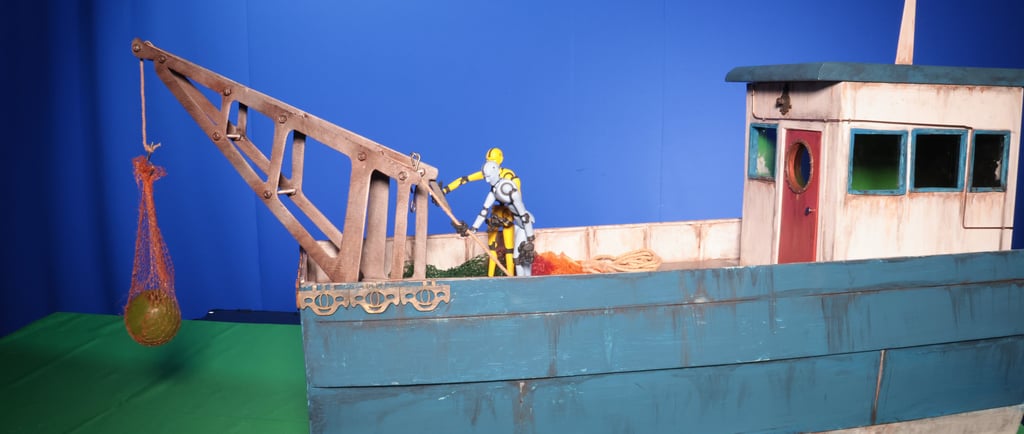
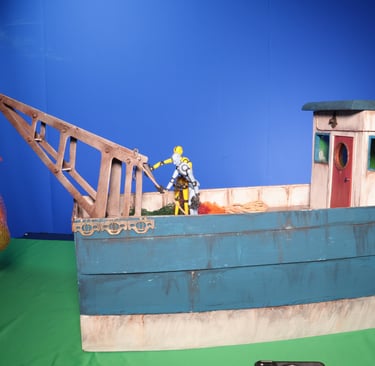
Using Sticky Bones for Performance Blocking
To begin exploring character movement and staging, I have been using Sticky Bones articulated figures as stand-ins. These are not the final puppet armatures for the film, but they have been extremely useful for testing poses, spatial relationships and performance blocking within the boat set.
Working with these figures has helped me visualise how characters might interact with the environment and camera framing. It also allows me to experiment with gesture, balance and storytelling through physical positioning before committing time to building the final models. This stage feels similar to rehearsal in live-action filmmaking — a way of discovering movement and composition through experimentation.
Lens Tests and the Illusion of Scale
Using the Canon R7 with the 18–135mm lens, I tested framing at approximately 18mm, 35mm and 50mm. Each focal length altered how convincing the miniature set appeared on screen.
Wider focal lengths increased spatial drama but risked revealing the model’s scale. Mid-range framing felt more natural and cinematic, while longer focal lengths compressed perspective, strengthening the illusion that the boat exists within a full-scale world.
Reflection and Next Steps
Working in the studio has reinforced how set design, lighting, camera language and performance blocking are deeply interconnected. The Sticky Bones figures have been invaluable in helping me think about staging and character presence, even before final puppet construction begins.
My next steps will involve refining lighting continuity, continuing compositing tests and progressing the build of the final character armatures and surrounding environmental set pieces. This phase has strengthened my confidence in using practical experimentation to support visual storytelling decisions.
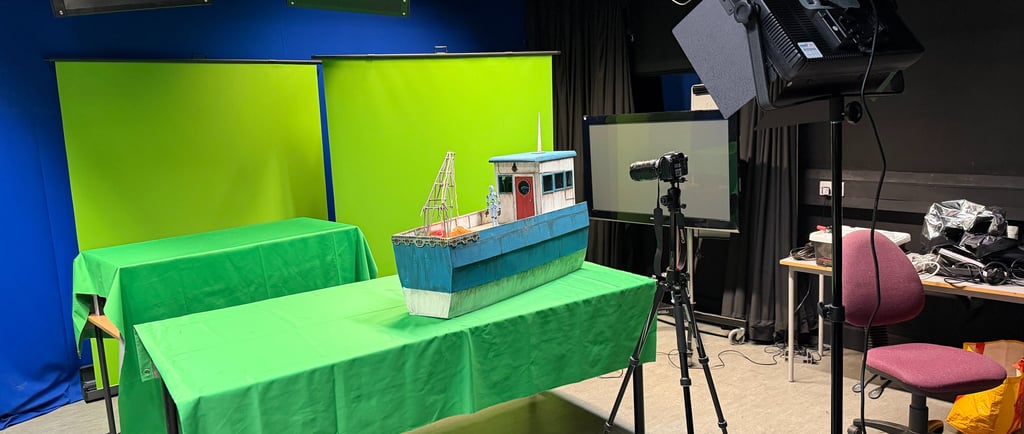
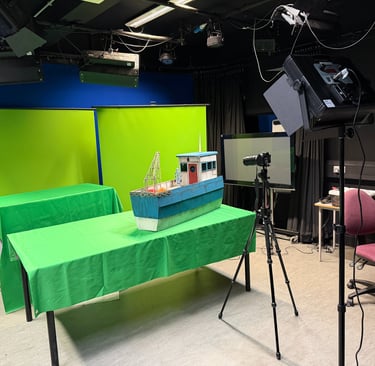

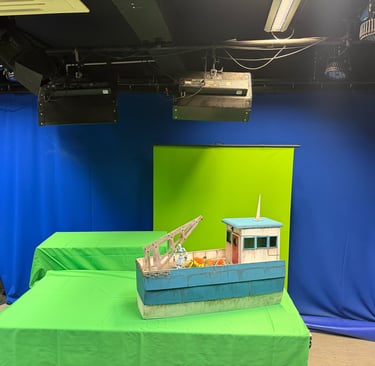
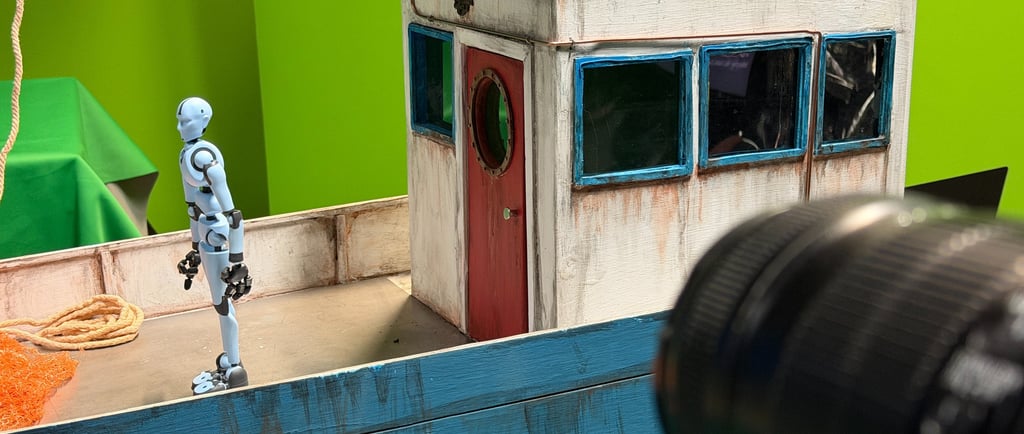
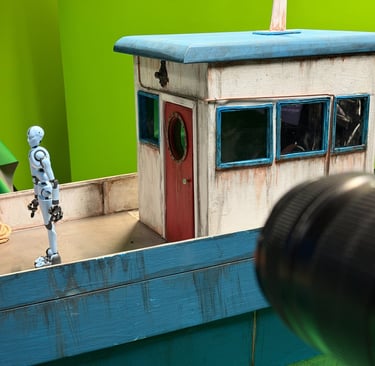
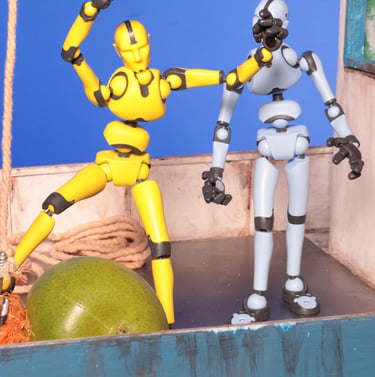
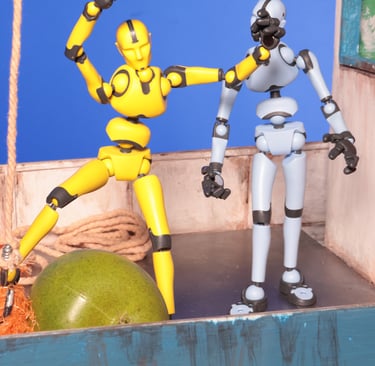
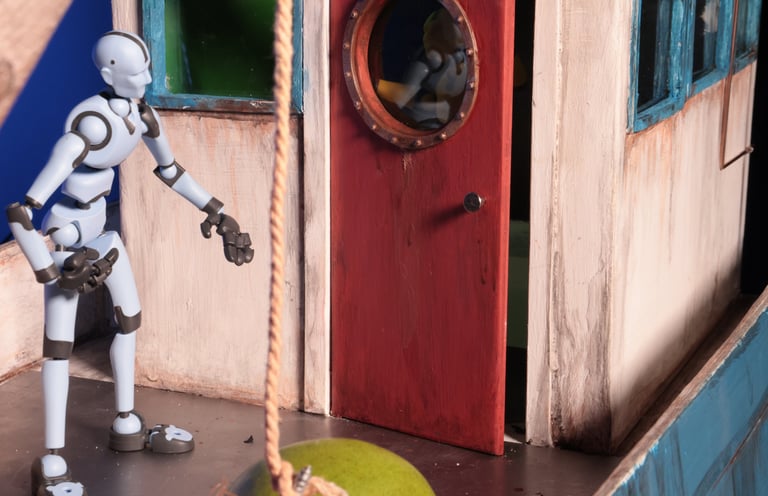
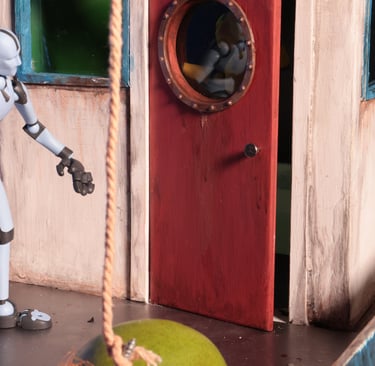
Fig.2. Lighting, camera and green screen set up in the TV Studio.
Fig.1. One of many test shots in the TV Studio.
Fig.3. Blue screen and green screen set up in the TV Studio.
Fig.3. Blue screen and green screen set up in the TV Studio.
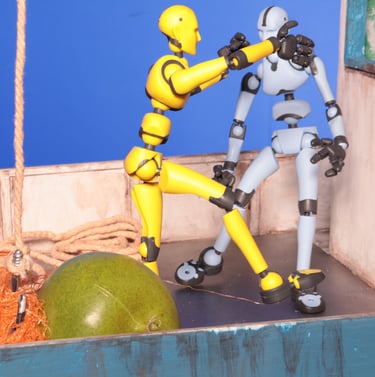
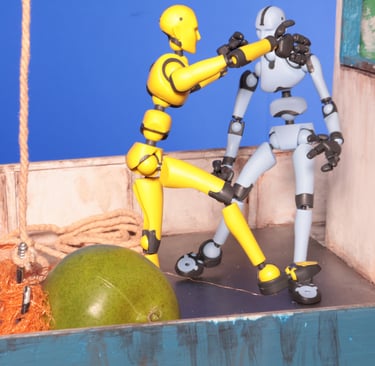
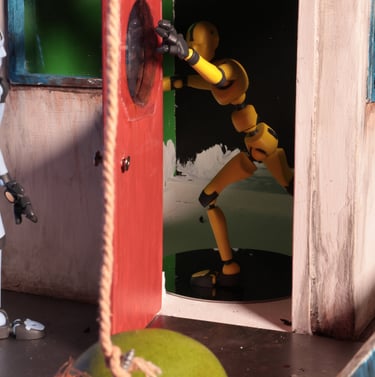
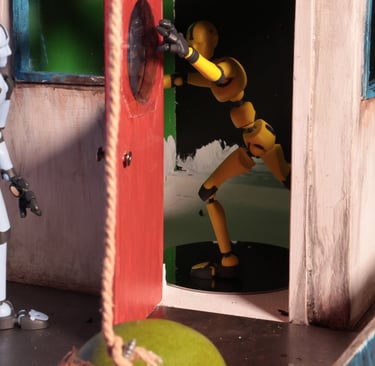
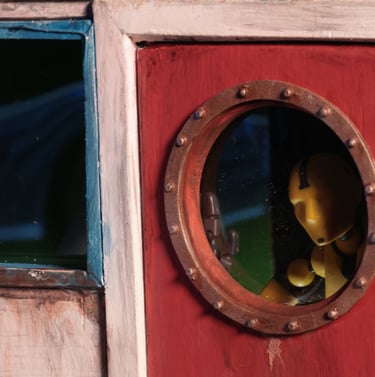
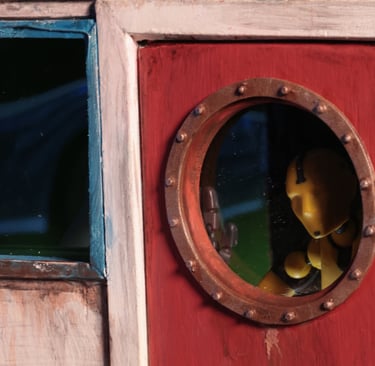
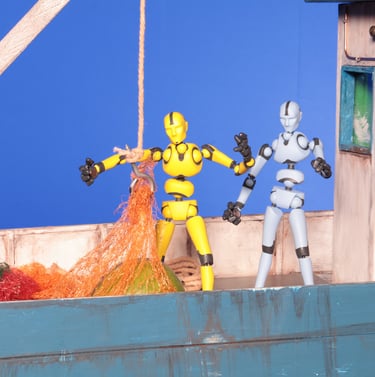
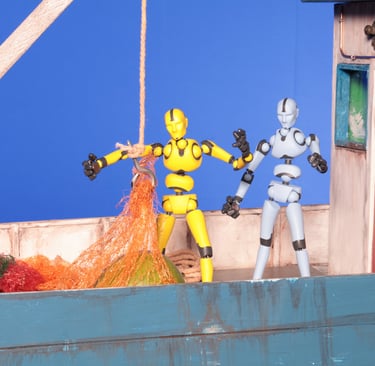

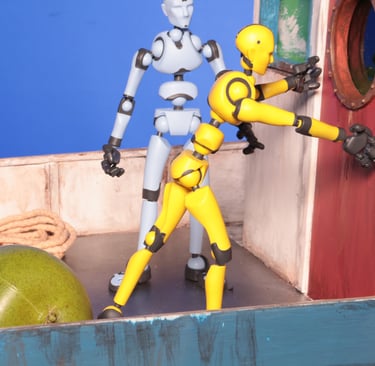
Fig.4. Using Sticky Bones for Performance Blocking
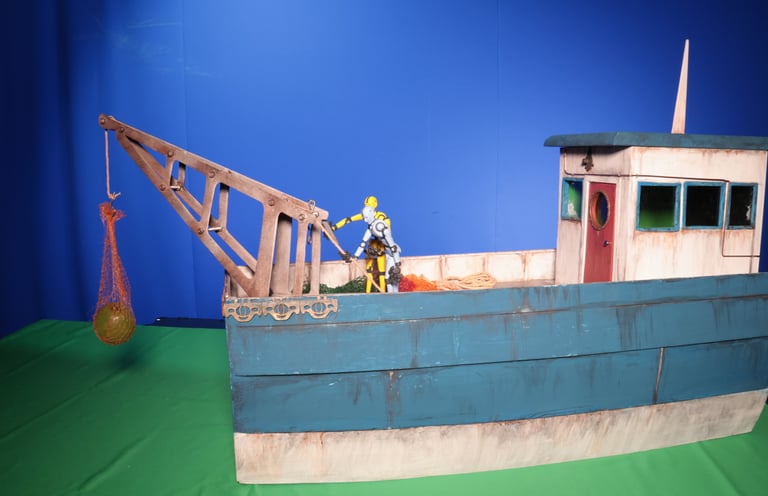

Fig.5. Test framing at 18mm
Fig.5. Test framing at 50mm
Business address: Voice of Drew, Carlisle, CA2 6ER | UTR: 7259771174 Copyright Drew Campbell 2024