
Creating "Fractured Signal"-AVFX5102
Developing an Experimental Sci-Fi Scene in Unreal Engine 5
EXPERIMENTAL NARRATIVE AND CONCEPT
Drew Campbell
5/27/20268 min read
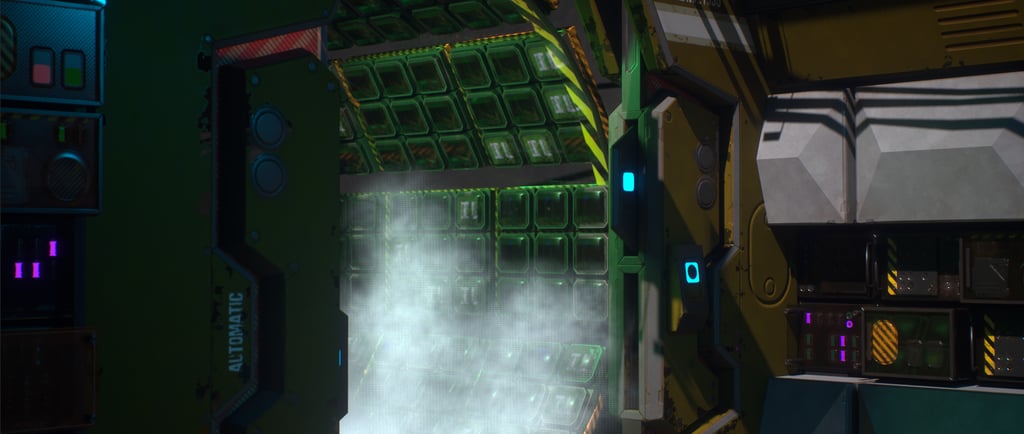
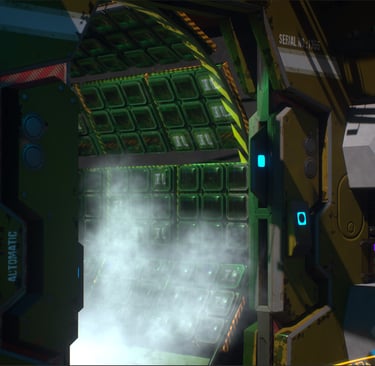
Developing an Experimental Sci-Fi Scene in Unreal Engine 5
When coming up with a scene for this module, I was heavily influenced by the visual atmosphere of Alien (Alien, 1979). I do not mean the overall story or themes of the film, but more specifically the lighting, framing and mood found throughout its darker moments. The use of steam-filled corridors, practical lighting, shadows and close-up facial compositions all helped shape the visual direction I wanted to pursue within my own project. From the beginning, I wanted the environment to feel cinematic, claustrophobic and slightly unsettling, while still allowing space for experimentation with real-time VFX workflows.
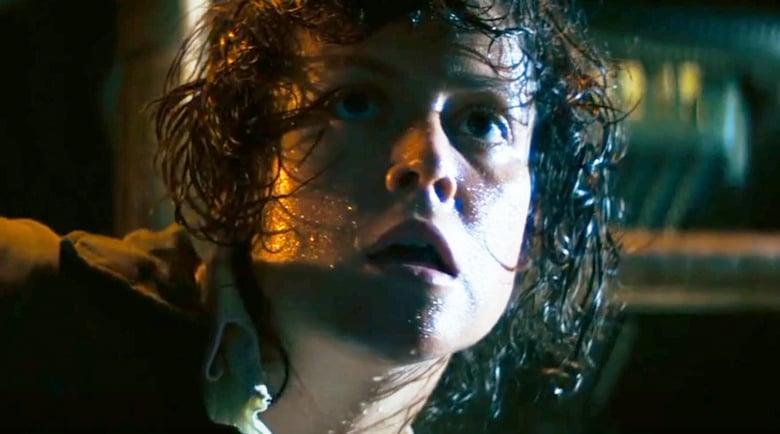
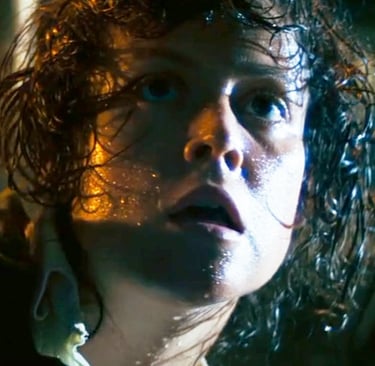
Fig. 1 Early visual inspiration and atmospheric direction for the project. Alien (Alien, 1979)
Constructing the Spacecraft Environment
To begin developing the scene, I measured the dimensions of the TV studio located next to AV on the top floor of the university. I then recreated the space inside Unreal Engine using placeholder walls to better understand how the virtual environment would align with the real filming area. After researching different environment assets on FAB, I found a modular space station kit that matched the aesthetic I was aiming for.
It took a considerable amount of trial and error to scale the room correctly and make the environment feel believable. Once the initial environment was assembled, I filmed a first draft using greenscreen footage inside the studio. Although the results were usable, the footage did not quite achieve the cinematic look or clean compositing quality I wanted.
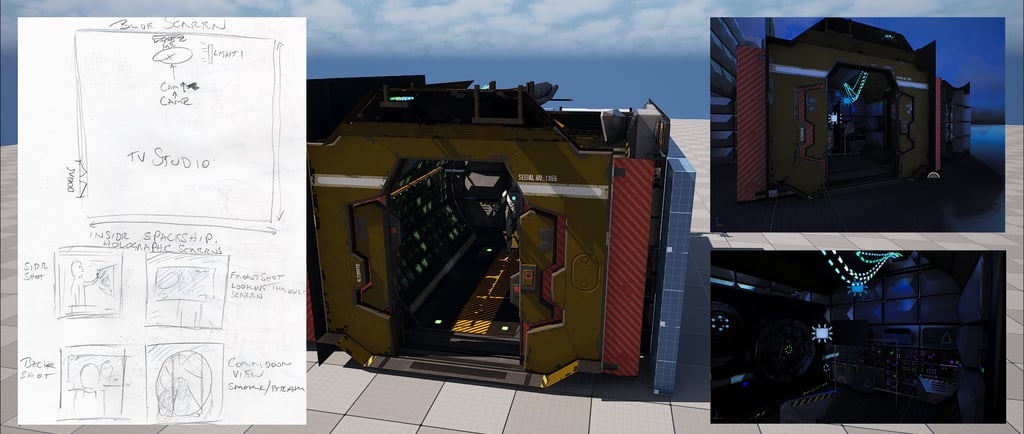
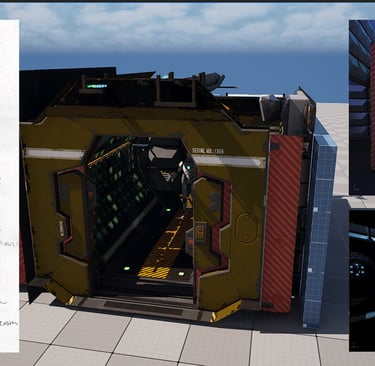
Fig. 2 Early environment construction and virtual studio layout inside Unreal Engine
Developing the Holographic Interface
Another feature I wanted to include was a holographic display similar to the interfaces seen in the Iron Man films. Initially, I planned to use the software RIVE to create animated interface graphics. I spent many hours researching tutorials and experimenting with workflows, but I struggled to find an approach that fully matched the visual style I had in mind. Although I know RIVE is capable of producing highly sophisticated interface animation, I decided to postpone learning it further and instead focus on alternative methods that better suited the project timeframe.
I eventually searched online for translucent holographic footage and found several suitable assets through Freepik.com, where I currently hold a subscription. Some of the footage had been created using AI-assisted workflows, while others were designed by digital artists. I selected one particular design and imported the footage into Adobe After Effects, where I converted it into an image sequence so it could be brought into Unreal Engine 5.7.
I was extremely pleased with the results. The combination of the updated blue screen footage and the holographic interface added far more depth and realism to the scene than I originally expected. I also added Bloom effects inside Unreal Engine to further enhance the glow and futuristic aesthetic of the display.
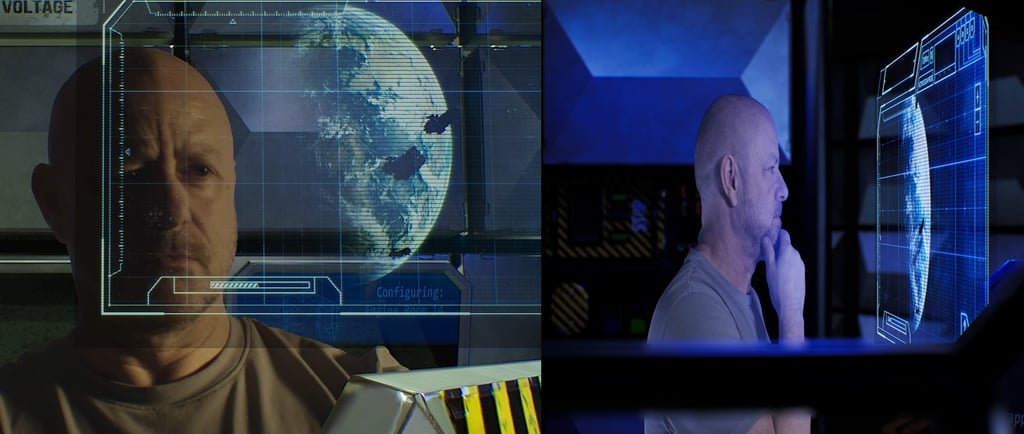
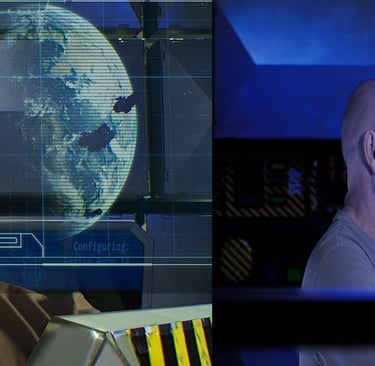
Fig. 3 Holographic interface integrated into the Unreal Engine environment. Interface footage sourced from Freepik.com.
Rebuilding the Scene for Better Camera Movement
As development continued, I realised that the original environment design was limiting my camera positioning and movement. Because of the restricted space, many shots felt repetitive and lacked cinematic flexibility. Rather than forcing the original design to work, I decided to completely rebuild the environment from scratch using the same modular space station kit.
This redesigned version included a corridor area with an animated automatic door inspired by classic science-fiction films. The addition of the corridor immediately improved the scene composition and allowed for much more dynamic framing opportunities. It also helped the environment feel larger and more believable.
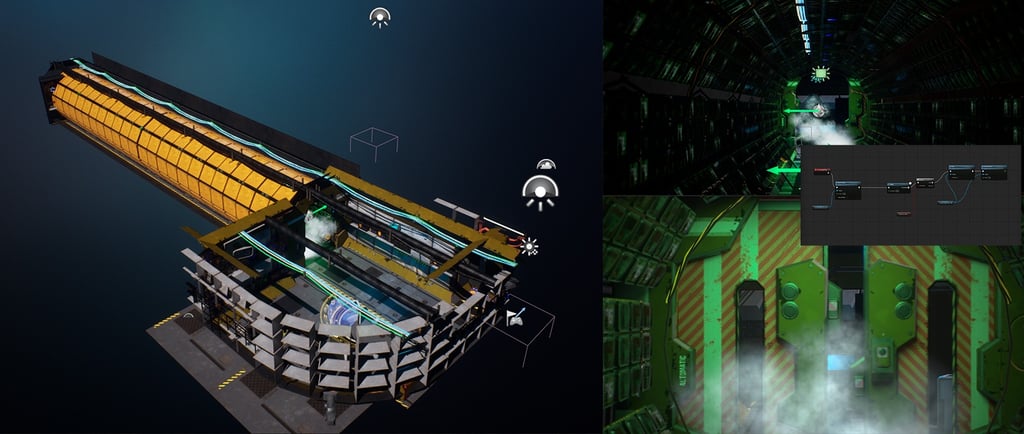
Fig. 4 Rebuilt corridor environment with automatic door animation and expanded the space over all.
Creating Smoke and Atmospheric Effects
To further develop the atmosphere of the scene, I researched tutorials on creating smoke and steam effects using Unreal Engine’s Niagara System. Although I could easily have downloaded pre-rendered smoke plates and applied them to simple planes, I wanted to experiment with creating the effect myself in real time.
The process took several hours of experimentation using different smoke textures, particle settings and lighting combinations before I achieved a result I was happy with (Varney, 2026). In the end, the smoke added an additional layer of realism and helped reinforce the darker science-fiction tone inspired by films such as Alien. The placement of the steam near the corridor door also helped create stronger visual depth within the scene.
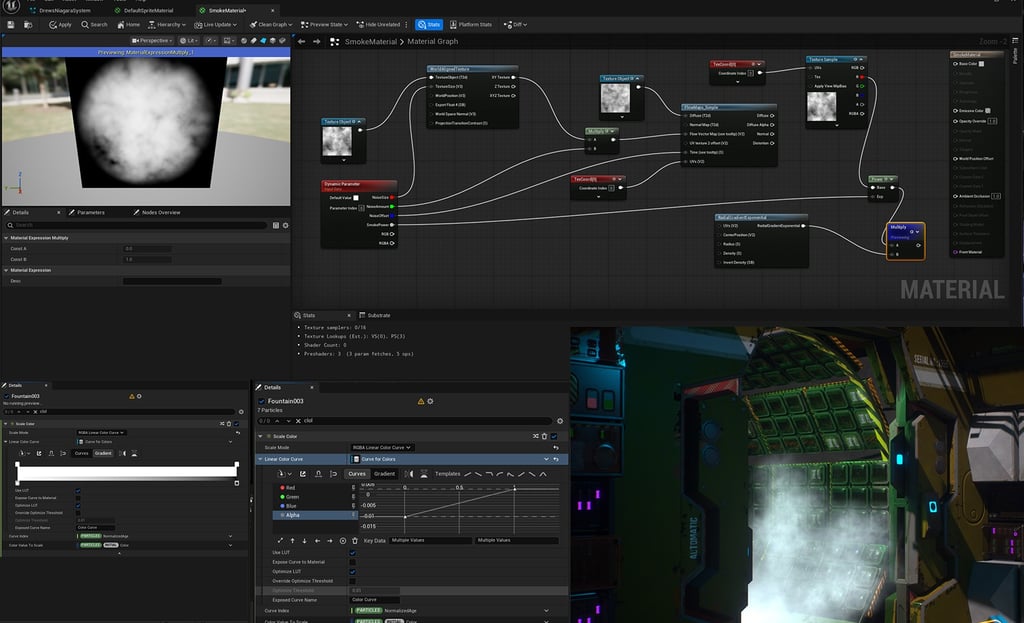
Fig. 5 Niagara-based smoke and steam effects used to enhance atmosphere.
Blue Screen Filming and Compositing Workflow
I later filmed a third version of the footage using blue screen again, this time capturing full-length footage so I could appear standing at the control desk within the rebuilt environment. During this stage, I began using DaVinci Resolve rather than After Effects for keying and compositing work.
I found Resolve significantly more intuitive, particularly when working with node-based workflows. Since I had already become familiar with node structures through Unreal Engine and compositing experimentation, the transition felt more manageable than I expected. I also spent many hours watching tutorials focused on colour grading, keying and compositing techniques inside DaVinci Resolve (Hunt, 2026; Steiner, 2026).
The Delta Keyer produced strong initial results, although I encountered several issues caused by uneven lighting and visible creases within the blue screen floor area. To solve this, I combined multiple Delta Key nodes alongside masks, despill tools and matte refinement techniques. Although the final result was not perfect, it represented a substantial improvement compared to my earlier compositing attempts (Socratica FX, 2026).
I also imported a high-quality screenshot of the Unreal Engine environment into Resolve so I could colour grade my footage to better match the scene lighting and atmosphere. This was something I had never previously attempted and it greatly improved the consistency between the live-action footage and digital environment.
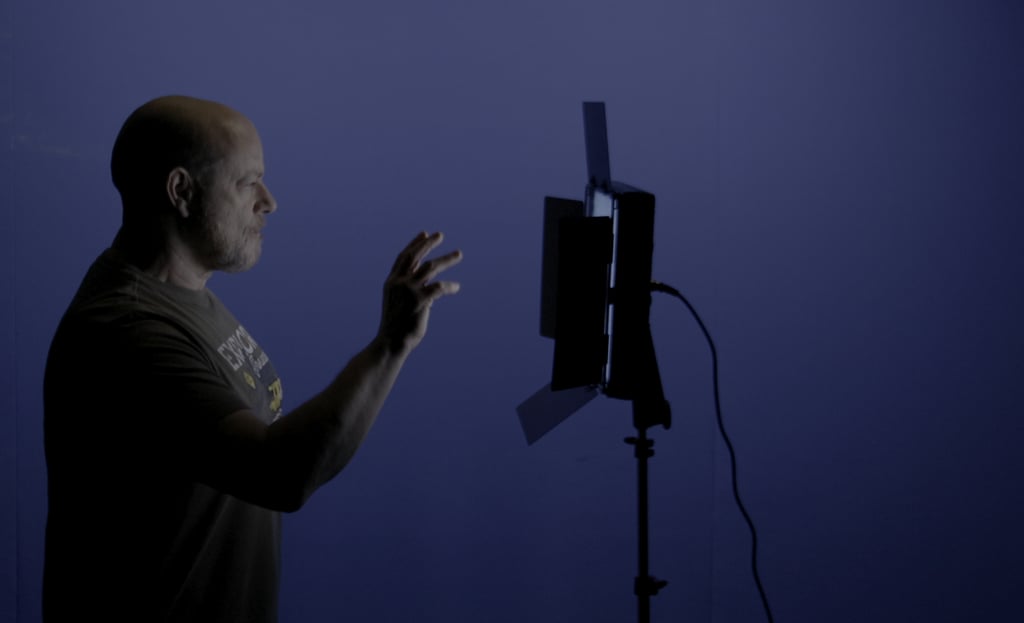
Fig. 6 Blue screen filming setup used for live-action integration.
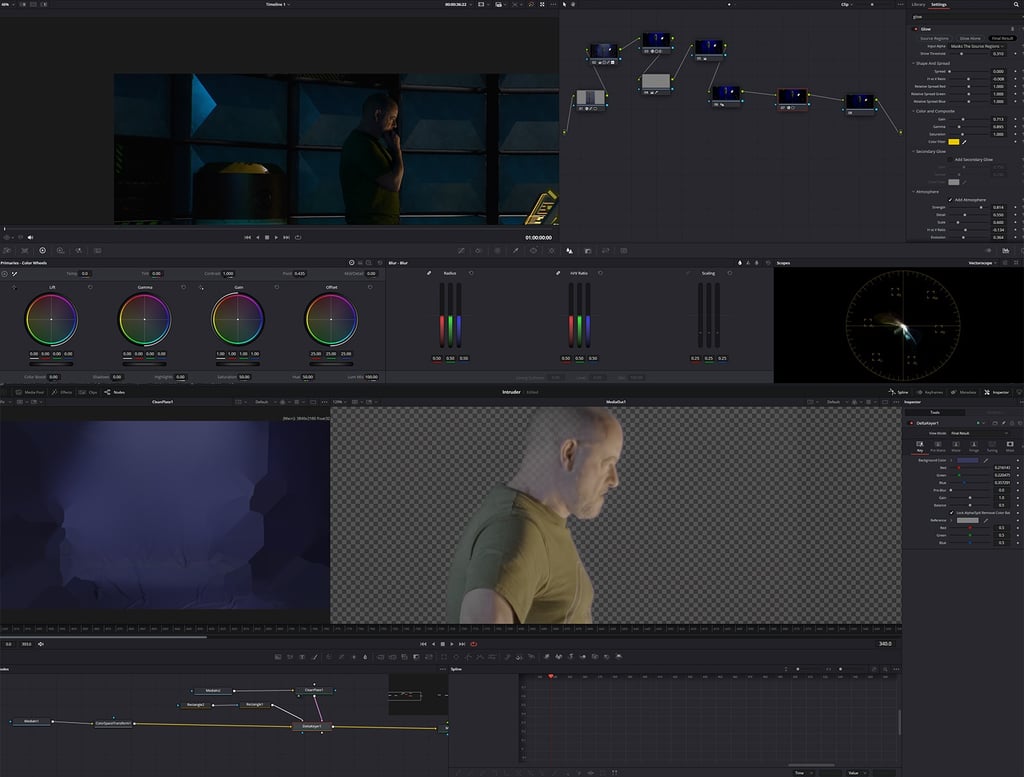
Fig. 7 Node-based compositing workflow inside DaVinci Resolve.
Technical Planning and Production Testing
Throughout development, I created a range of rough sketches, lighting diagrams and technical notes to help visualise the studio layout, camera positioning and VFX workflow. These planning materials included ideas for holographic screen placement, corridor framing, smoke positioning and overall shot composition within the spacecraft environment.
As part of the experimentation process, I tested both greenscreen and blue screen setups under different lighting arrangements to better understand colour spill, subject separation and exposure control. My notes included testing low-angle lighting positions, three-point lighting setups and daylight-balanced 5600K lighting configurations. I also discovered that switching off the room lighting significantly improved the quality of the key and helped create a more cinematic atmosphere overall.
Alongside this, I researched professional compositing workflows including lens distortion correction and node-based compositing pipelines. Although many of these notes were rough and experimental, they became an important part of the overall problem-solving process throughout production.
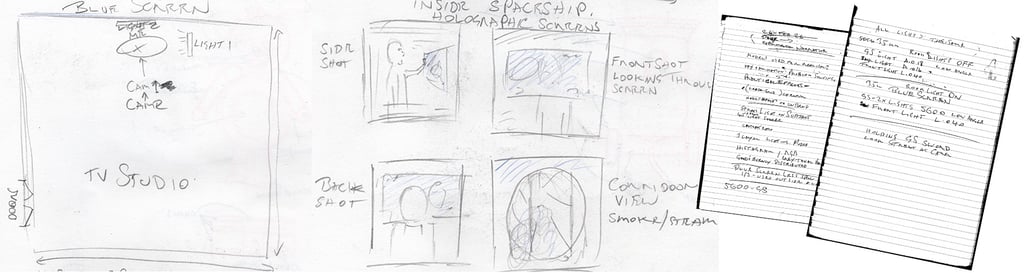
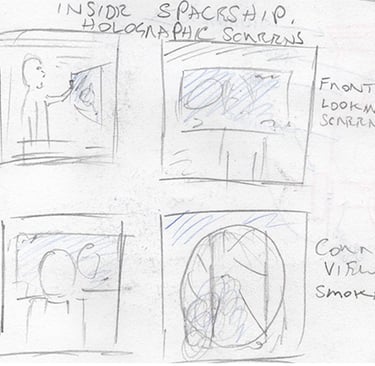
Fig. 8 Early planning sketches and lighting experimentation notes.
Star Wars Influence and Holographic Materials
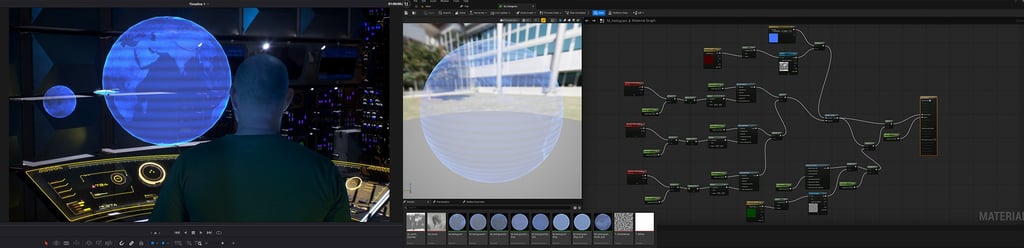
While developing the holographic material inside Unreal Engine, I was also heavily influenced by the hologram displays seen throughout the Star Wars franchise. In particular, the projected Death Star schematics and tactical holograms from the original trilogy inspired the blue glow, transparent layering and digital scan-line aesthetic used within my own material design.
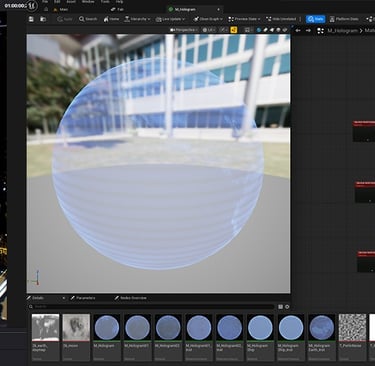
To better understand how these effects were created technically, I followed an online Unreal Engine tutorial focused on building holographic materials and shaders. This helped me understand how emissive materials, animated noise, distortion effects and transparency could be combined to create a more believable science-fiction hologram effect in real time (Tiedtke, 2022) .
As part of this experimentation, I also downloaded Earth and Moon texture maps which were applied to sphere models within Unreal Engine. These tests allowed me to experiment with how holographic materials interacted with recognisable planetary surfaces and lighting conditions while helping reinforce the futuristic visual style of the project.
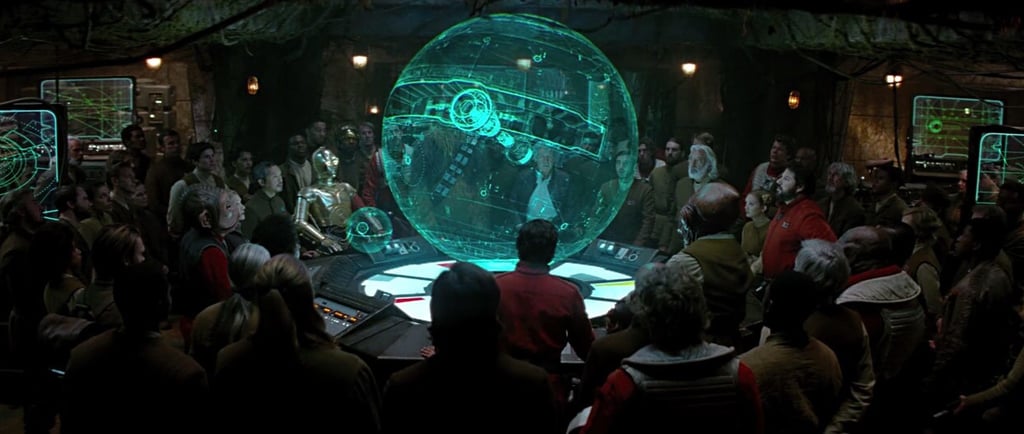
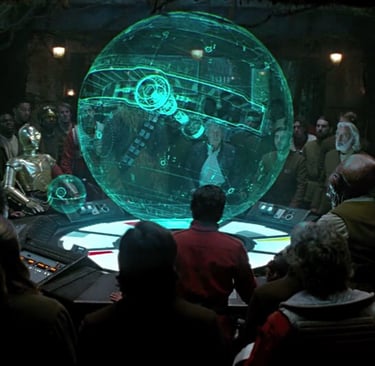
Fig. 10 Experimenting with holographic materials and planetary textures.
Fig. 9 Star Wars: The Force Awakens. (2015)
Rendering Challenges and Optimisation
During rendering, I encountered several memory pressure warnings inside Unreal Engine 5 while using the Movie Render Queue. I was rendering EXR image sequences using a Temporal Sample Count of 8 in an attempt to achieve the highest cinematic quality possible. However, the combination of Lumen lighting, holographic materials and composited footage significantly increased memory usage during rendering.
Initially, I was surprised by these limitations considering I was working with a high-end RTX 5080 GPU with 16GB of VRAM. However, the experience helped me better understand how demanding real-time rendering workflows can become when multiple high-quality systems are combined together.
After experimenting with different render settings, I reduced the Temporal Sample Count which improved rendering stability while still maintaining a high-quality final image suitable for submission. This process reinforced the importance of balancing visual quality with optimisation and technical practicality.
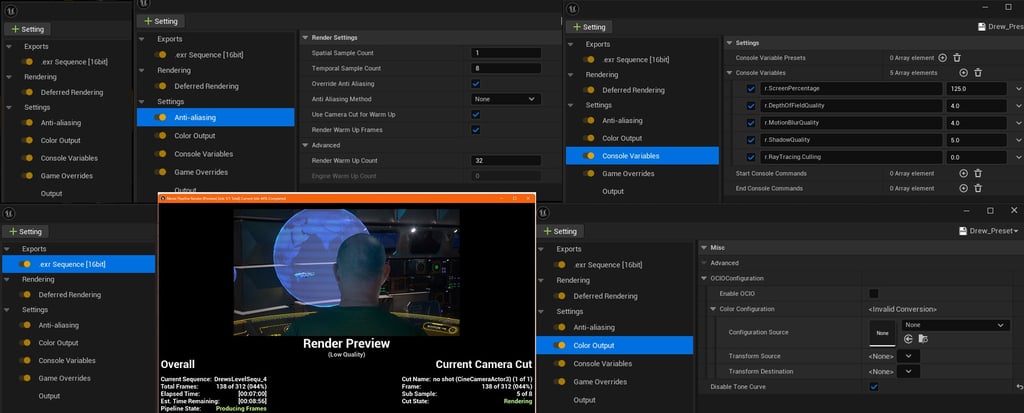
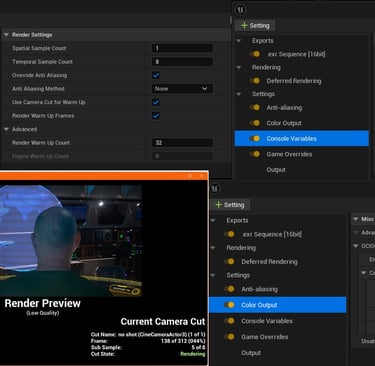
Fig. 11 Testing render quality and optimisation settings within Unreal Engine 5.
Reflection and Future Development
There have been many learning curves throughout the production of this project, but the experience has been extremely valuable and has given me a much stronger understanding of experimental VFX workflows, compositing and real-time production techniques. The project pushed me far beyond my previous experience levels in Unreal Engine, DaVinci Resolve and virtual production workflows, while also reinforcing the importance of experimentation, testing and problem-solving throughout creative development.
In future projects, I would like to continue experimenting with MetaHuman integration and facial performance capture workflows. I began testing Live Link Face using my phone and successfully imported facial animation data into Unreal Engine, although I encountered several technical difficulties during the process. Despite this, the experimentation encouraged me to continue developing these skills over the summer, particularly with the upcoming release of Unreal Engine 5.8 and its improved MetaHuman workflows.
Overall, this module encouraged me to experiment more freely, take creative risks and explore unconventional workflows rather than focusing purely on polished final outcomes. That process-led experimentation became one of the most valuable aspects of the project and strongly reflects the aims of AVFX5102 as a module centred around creative exploration, emerging technologies and experimental production practices.

Fig. 12 Final rendered film - Fractured Signal.
References
Alien (1979) Directed by Ridley Scott [Feature film]. 20th Century Fox.
Epic Games (2026) Unreal Engine 5.7 Documentation. Available at: https://dev.epicgames.com/documentation/en-us/unreal-engine/ (Accessed: 18 April 2026).
Hunt, G. (2026). 3 FREE Cinematic Powergrades || Color Grading in DaVinci Resolve. [online] Youtu.be. Available at: https://youtu.be/QSd56isRUJs?si=fMvAZVXQn5MNXde2 [Accessed 3 May 2026].
Socratica FX (2026). Delta Keyer Vs Ultra Keyer ← DaVinci Resolve. [online] Youtu.be. Available at: https://youtu.be/lCdZtRzDVyM?si=XjyvoOnTFrn90SoY [Accessed 1 May 2026].
Star Wars: Episode VII - The Force Awakens (2015) Directed by J.J. Abrams [Feature film]. Walt Disney Studios Motion Pictures.
Steiner, M.T. (2026). Color Grading Made EASY | Davinci Resolve 20 Tutorial. [online] Youtu.be. Available at: https://youtu.be/5y-1u7bd6Rs?si=2KI_hvHQ16ifagwY [Accessed 3 May 2026].
Tiedtke, M. (2022). Create a sci-fi HOLOGRAM Material Shader in Unreal Engine 5 (FREE download). [online] Youtu.be. Available at: https://youtu.be/lWV52h-VHi8?si=aYQssOeWv_cyJ5Cc [Accessed 24 May 2026].
Varney, P. (2026). Making Smoke Particles In Unreal Engine 5 - Niagara Tutorial. [online] Youtu.be. Available at: https://youtu.be/omDpFnDi9fs?si=KA5KhQnUvyn02h2i [Accessed 20 Apr. 2026].
Business address: Voice of Drew, Carlisle, CA2 6ER | UTR: 7259771174 Copyright Drew Campbell 2024